Windows 7 has a feature called System Restore which automatically backs up registry and system files whenever you install new software or drivers.
It can be used to repair a system which has become slow or unstable since installing new software or hardware.
How to restore Windows 7 using System Restore
Please note: Windows will automatically restart during the restoration process. Save and close any important files before progressing.
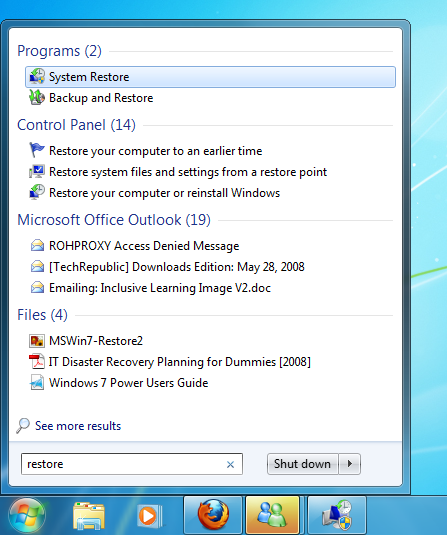
- Open the Windows Start menu and type restore
- Open the ‘System Restore’ program from the list

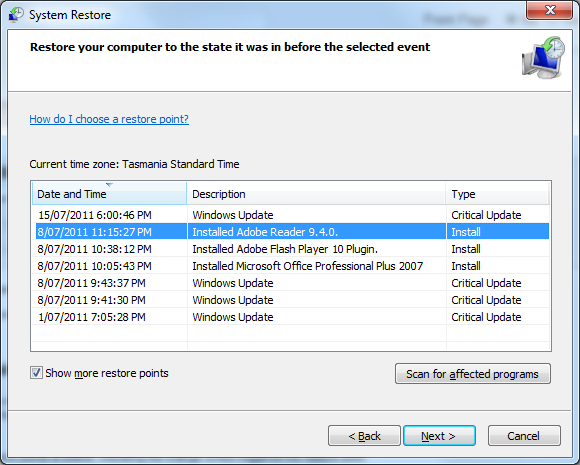
- Click on the ‘Next’ button
- Tick ‘Show more restore points’
- This will give you a full list of all the restore points available, indicating the change whiich triggered the restore point

- Select the restore point you need to roll back to then click on the ‘Next’ button
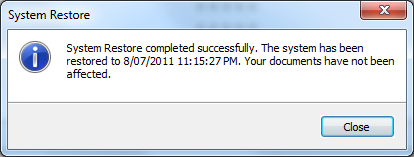
- Then press ‘Finish’ then ‘Yes’ to complete the restore.
- Windows will automatically restart during the restore process.