The following steps detail how to create a bootable USB stick which will open ghost and have a network connection available.
The process takes advantage of the Netboot application package which has most current network drivers included. For more information on Netboot – http://netbootdisk.com
Please Note:
- You will require the GHOST.EXE file from your licenced install on the Ghost server – This can be found in the programs files folder.
- A USB drive which has more than 256MB is required
- All existing data will be erased from the USB drive
- Download and install the HP USB Disk Storage Format Tool – Download
- Download the required system files – Download
- Extract the system files to a temporary location (e.g. C:\TEMP)
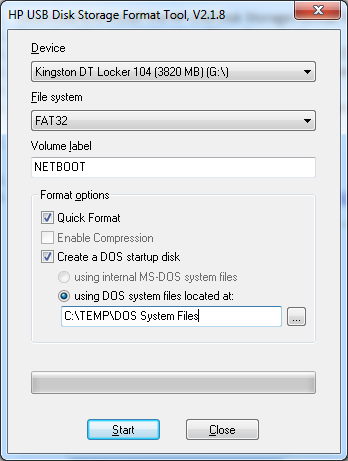
- Open the ‘HP USB Disk Storage Format Tool’ utility from the ‘All Programs’ menu
- Under ‘Device’ select the USB drive
- Place a tick next to ‘Create a DOS startup disk’ and the path to the extracted DOS system files (e.g. C:\TEMP\RequiredFiles\SystemFiles)
- Click ‘Start’ then ‘Yes’

- Once complete, click ‘OK’
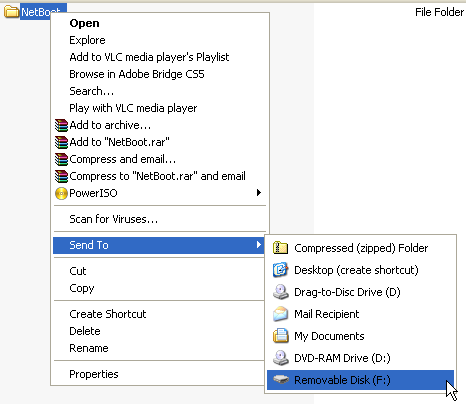
- Browse to the extracted files and send the ‘NetBoot’ folder to your USB drive (Right Click -> Send To -> USB Drive)

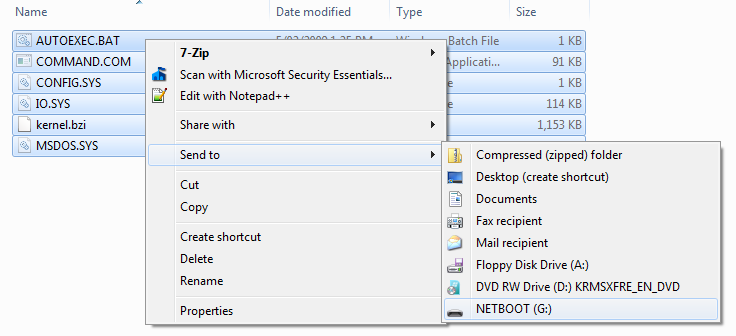
- Browse to the extracted files and send the contents of the ‘SystemFiles’ folder to your USB drive (Right Click -> Send To -> USB Drive)

- Locate your licenced copy of the DOS GHOST.EXE file and save it to the Netboot folder (e.g. H:\Netboot)
- The USB drive is now bootable and has the required files.