Local by Flywheel is a development tool which allows you to create WordPress sites on your computer. These sites can be used for developing or testing WordPress, plugins or themes.
Local is known for its ease of use – it’s easy to install, create WordPress sites, works on Mac and Windows and even lets you share sites over the internet.
The steps below will show how to install Local and create a WordPress site.
How to install Local by Flywheel
Installing Local is easy – no special configuration or additional software required.
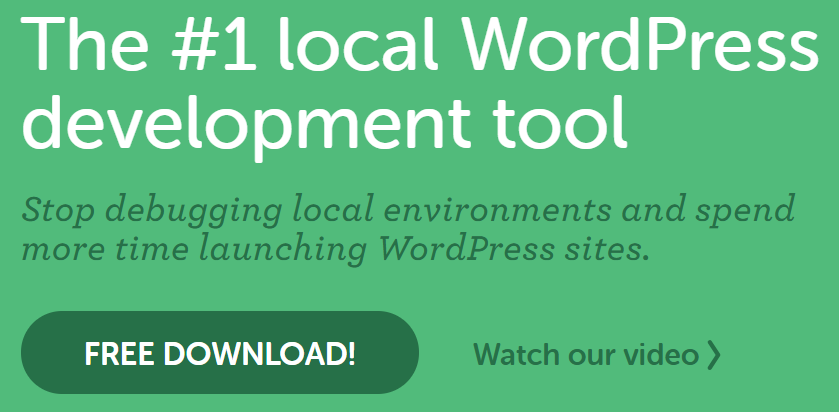
To install, head over to https://local.getflywheel.com and click ‘Free download’ and follow the prompts.
How to create a WordPress site
Note: this is shown using Windows 10 – the process may differ slightly for Mac OS.
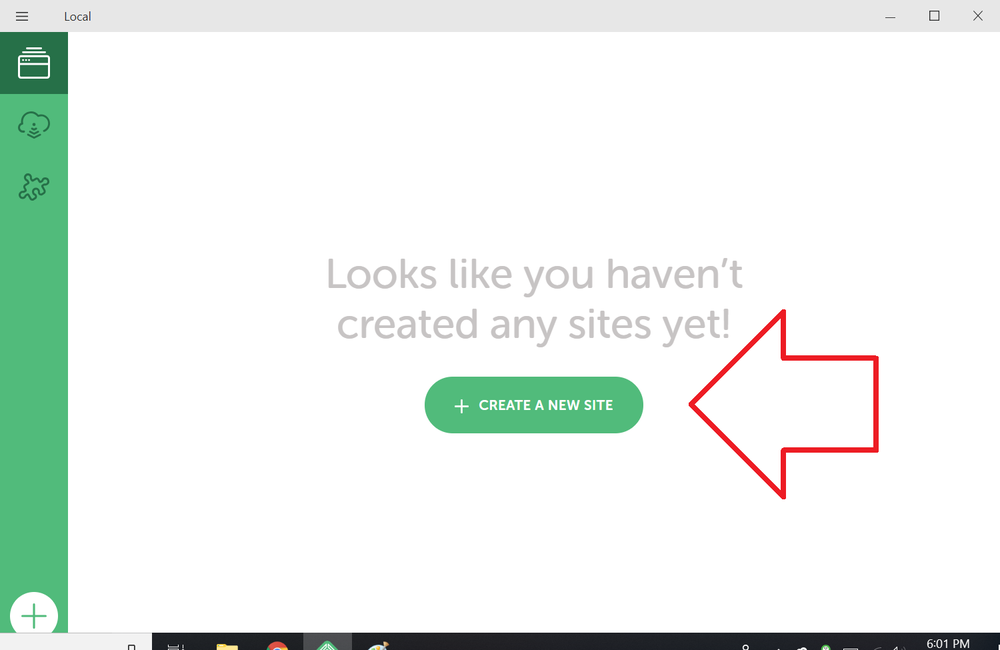
- Once installed, open Local
- Click on ‘Create a new site’
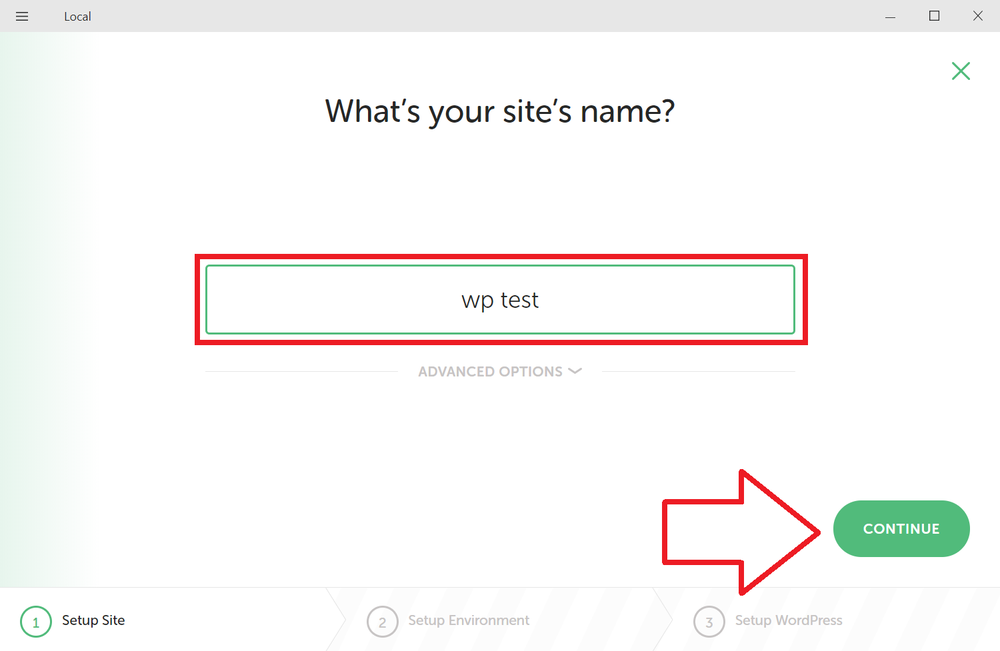
- Give the new site a name, e.g. “wp test” and click ‘continue’
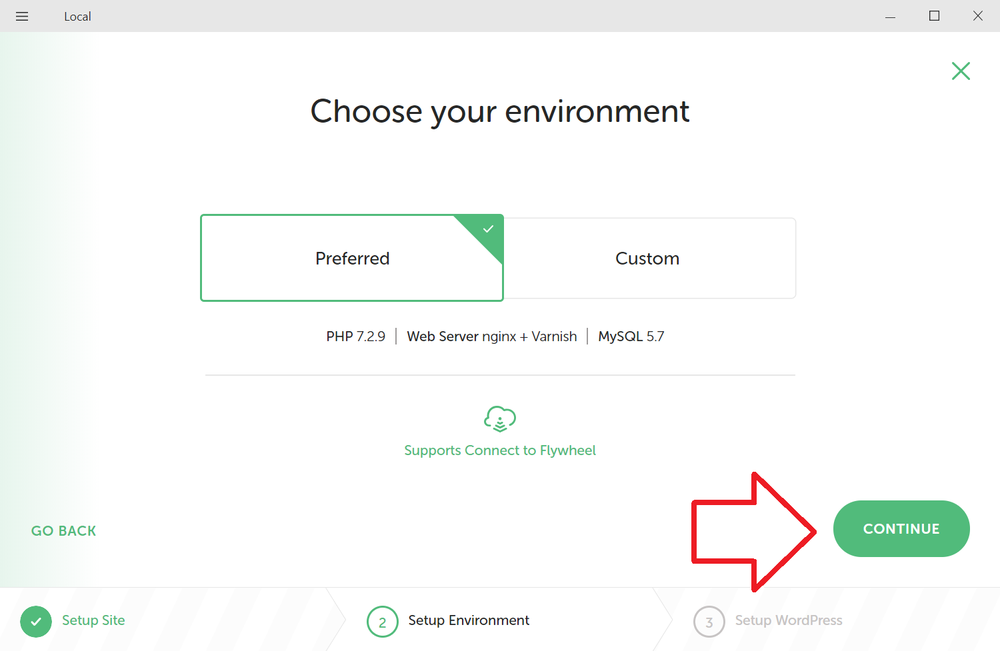
- Next you can choose the default environment or select your own custom environment. Leave the default environment selected and click ‘continue’
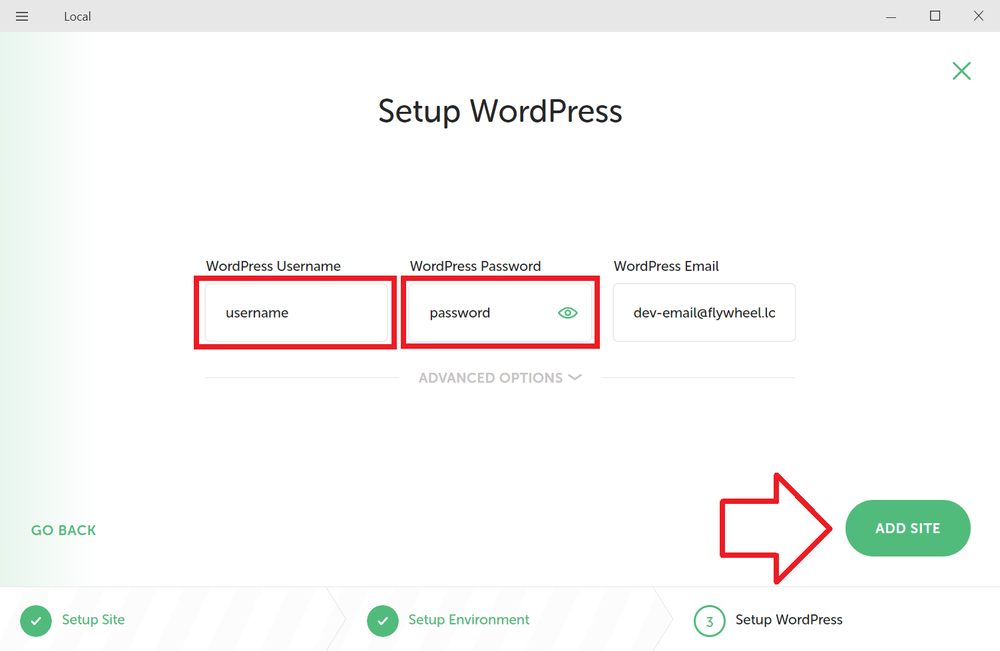
- Enter a username and password for the site and click ‘add site’
- As the site is created, click ‘Yes’ to any UAC (user access control) prompts
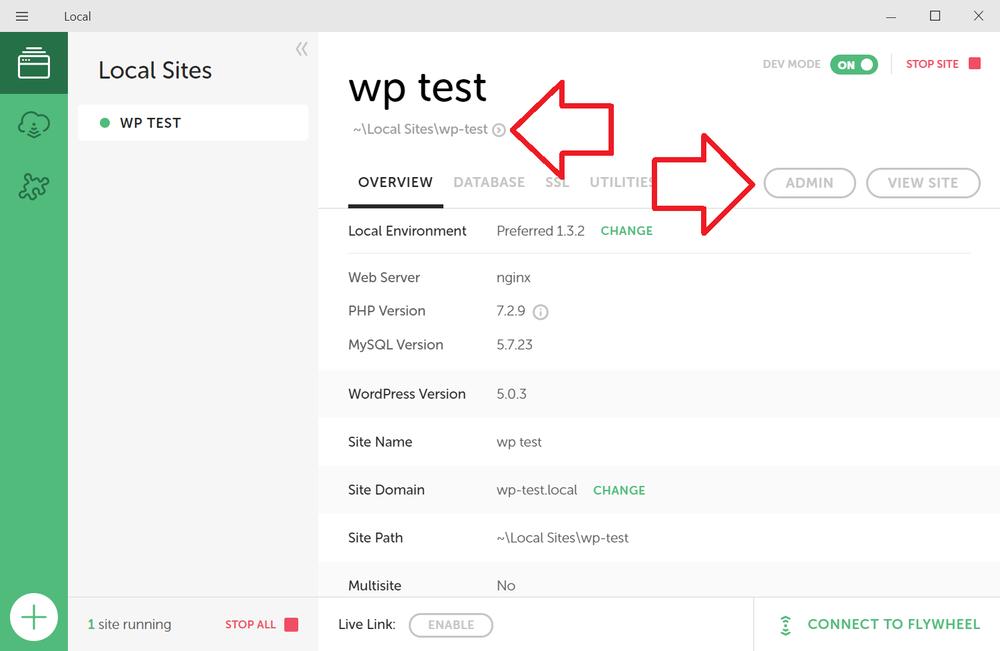
- Once installed the site can be access by clicking on the ‘admin’ and ‘view site’ buttons.
- The files for the site can be accessed by clicking on the arrow at the top of the window and browsing to the app -> public directory