Since Office 2007, Word has offered the two ways to compare two Word documents for differences.
This is useful if you’ve found a Word document you’re working on has been changed without using track changes.
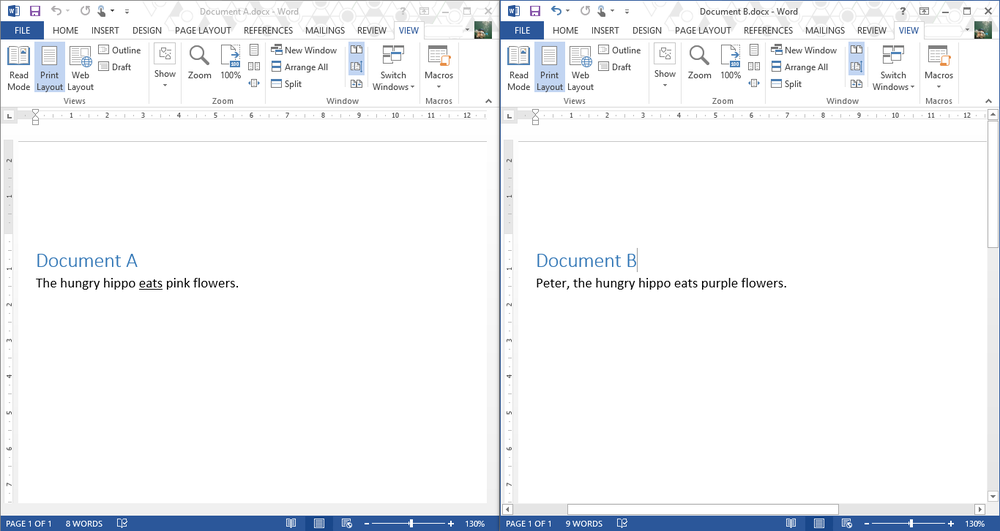
View Side by Side
‘View Side by Side’ can be found in the ‘VIEW’ ribbon.
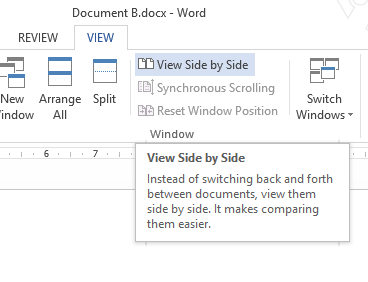
When you have two documents open you can click on it to view each document side by side. The scroll bars will be syncronised between each document, allowing you to scroll though to manually compare the differences.
Compare
The ‘Compare’ tool can be found in the ‘REVIEW’ ribbon.
Choose the ‘Compare’ option
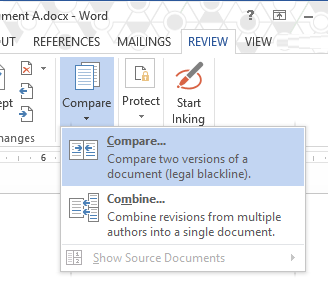
Then in the next window select the original and the revised document. Enter a useful name such as “changes” under ‘label changes with’ to help you identify the changes. Click ‘OK’ to begin the process.

A new document will open, which will contain your original document and the revised content. Use the track changes tool to work through the changes, accepting to denying the changes.
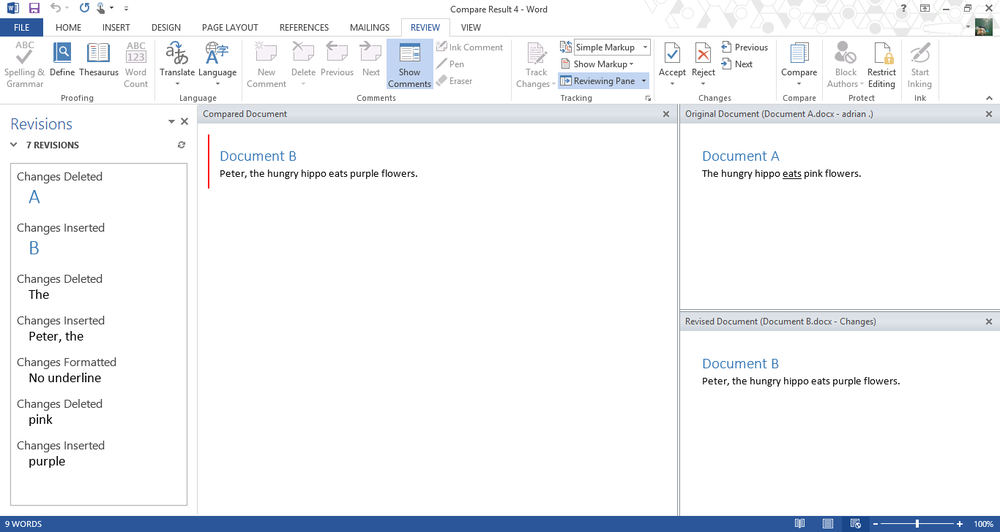
If you have made changes to the content, save the document as a new version of the document or copy and paste the content back to the original document.