With the introduction of Windows 7 the normal ‘classic’ style of the taskbar has been changed.
The following steps detail how to customise the taskbar so it looks and feels more like the traditional Windows XP or Windows Vista taskbar.
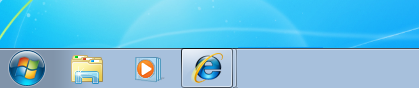
Before – the default Windows 7 taskbar:
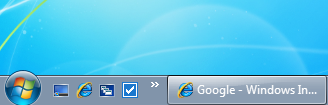
After – after customising the Windows 7 taskbar:
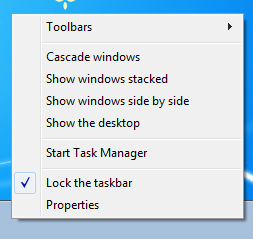
- Right click on a blank area of the taskbar and select ‘Properties’
- Select ‘Use small icons’
- Under ‘Taskbar buttons’ select ‘Combine when taskbar is full’
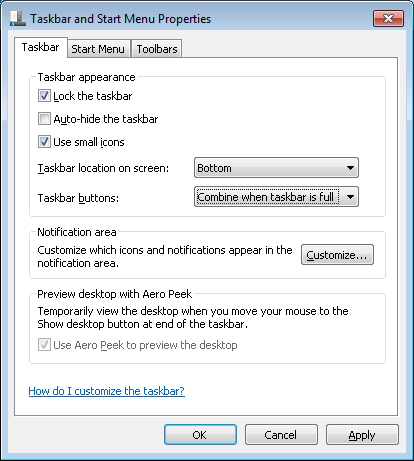
- Click ‘OK’ to save the changes
- Right click on the taskbar, select ‘Toolbars’ then ‘New Toolbar…’
- Under ‘Folder’ enter in “%appdata%\Microsoft\Internet Explorer\Quick Launch” and click ‘Select folder’
- Right click on a blank area of the taskbar and un-tick ‘Lock the taskbar’
- Drag the quick launch taskbar item to the left by selecting the dotted lines and dragging it all the way to the left.
- Make the quick launch taskbar item smaller by selecting the dotted lines at the end and dragging it tot he left until it’s a good size
- Right click on the ‘Quick Launch’ words and un-tick ‘Show Text’
- Right click on the ‘Quick Launch’ words and un-tick ‘Show title’
- Right click on a blank area of the taskbar and select ‘Lock the taskbar’
- Right click on any remaining “pinned” programs and select ‘Unpin this program from the taskbar’