Modern internet browsers have the ability to use a custom style sheet to override the styles on all websites.
This feature can be used to make websites more accessible for people with vision impairments that require specific background-font contrasts.
Google Chrome dropped support for custom style sheets in version 32 in early 2014, fortunately a third-party has created an extension for Google Chrome, allowing users to continue to use custom style sheets.
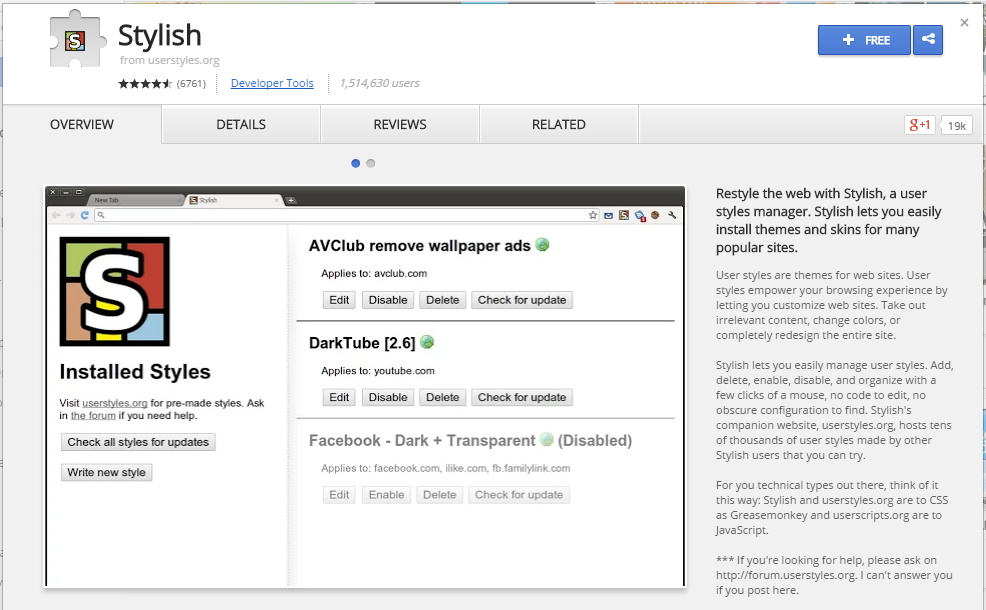
- Using Google Chrome, go to the extension page for Stylish by userstyles.org – https://chrome.google.com/webstore/detail/stylish/fjnbnpbmkenffdnngjfgmeleoegfcffe?hl=en
- Click in the blue ‘Free’ button at the top left hand corner
- Then click ‘Add’

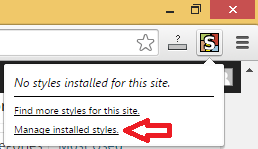
- The icon for Stylish can now be seen at the top right of the browser.
- Click on the Stylish icon then click on ‘Manage installed styles’

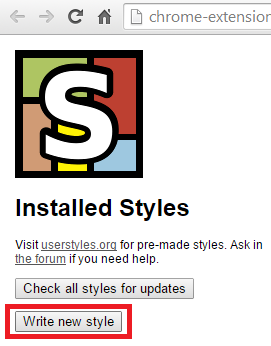
- On the left hand side, click on the ‘Write new style’ button

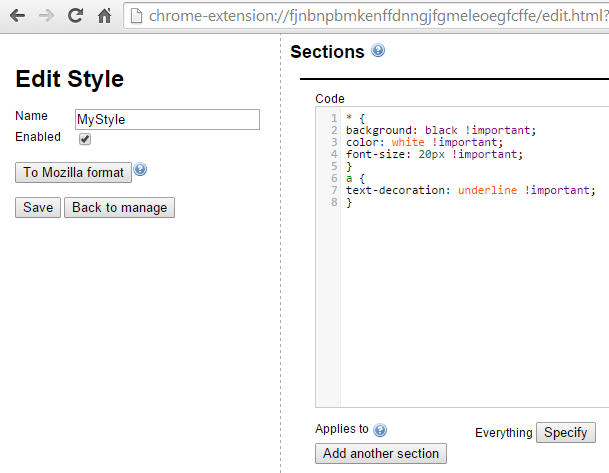
- In the ‘Name’ field enter a name for the custom style sheet, for example ‘MyStyle’
- In the ‘Code’ box enter the custom CSS you want applied to every page you visit – make sure to add !important to each style to ensure it’s always applied. If you’re new to CSS there’s an example template below you can use as a start.

- Click ‘Save’ and check that the websites are displaying as you want.

- You can now close the Stylish window.
Example accessible CSS
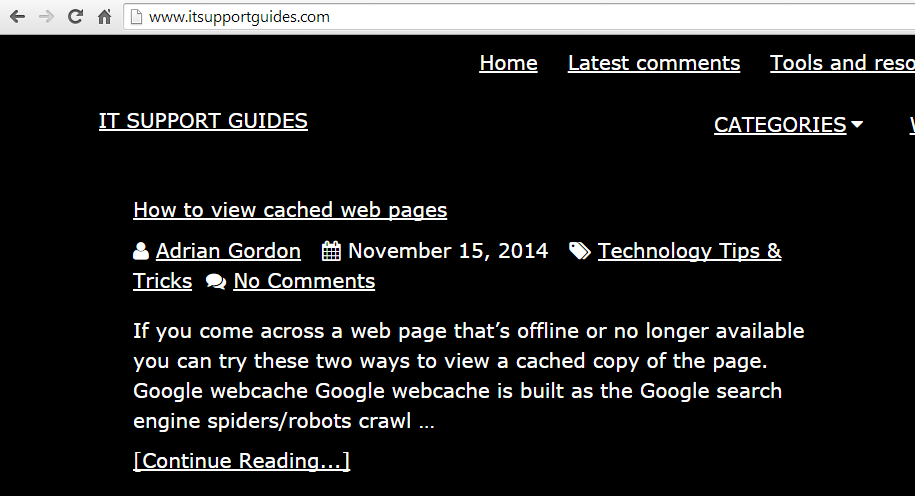
The code below has two parts-
- the asterisk that applies to all elements – the styles are black backgrond, white font and size 20px font.
- and a that applies to all links – the style makes links show with the underline, making links clearly displayed.
* {
 background: black !important;
 color: white !important;
 font-size: 20px !important;
 }
a {
 text-decoration: underline !important;
 }