The following process has been tested and confirmed as working with Skype 6.16 and Configuration Manager (SCCM) R2.
The process involves downloading the MSI installer for Skype and customising it to suit your requirements.
In this example, we’ll be creating a Skype install which does the following tasks:
- Installs Skype silently
- Disables automatic startup when logging on
- Removes the desktop shortcut
- Return exit code to SCCM
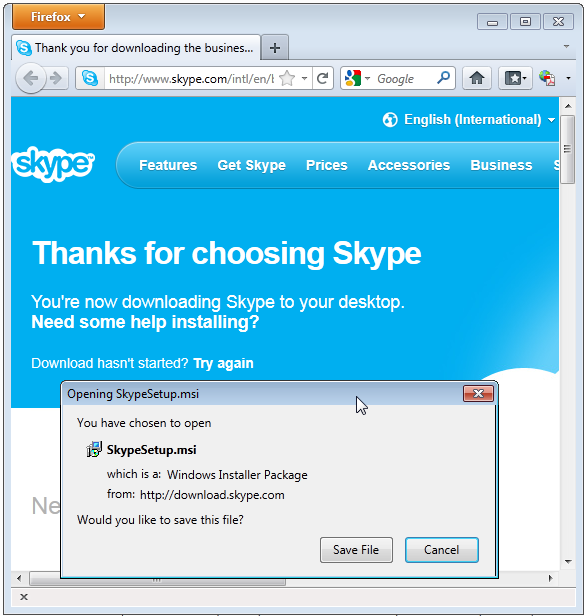
- Download the latest version of the MSI install for Skype here: http://www.skype.com/go/getskype-msi
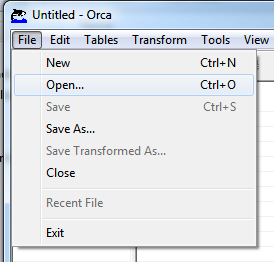
- Download and install Orca (a free MSI editor tool by Microsoft) here www.itsupportguides.com/downloads/MicrosoftOrcaMSI.zip
- Using Orca – open SkypeSetup.msi
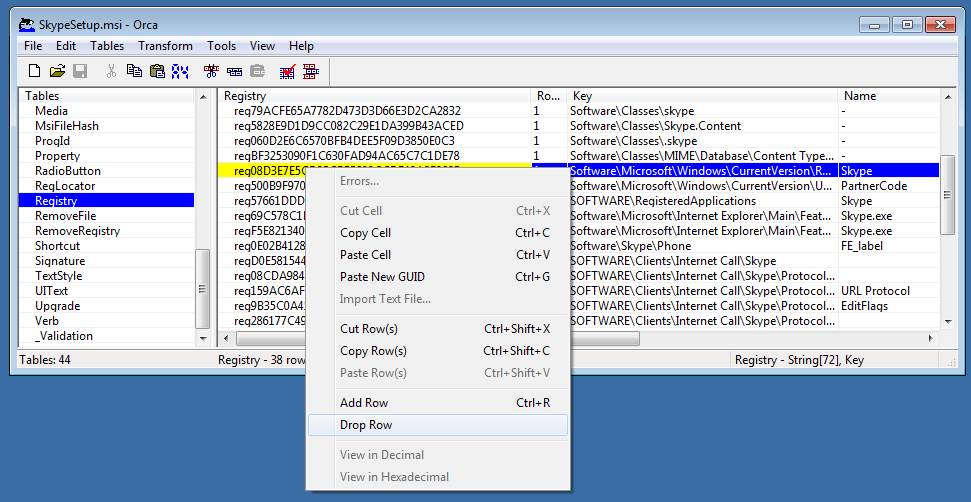
- On the left hand menu click on ‘Registry’
- Scroll down until you see the entry which includes ‘Software\Microsoft\Windows\Current\Version\Run’
- Right click on the line and choose ‘Drop Row’
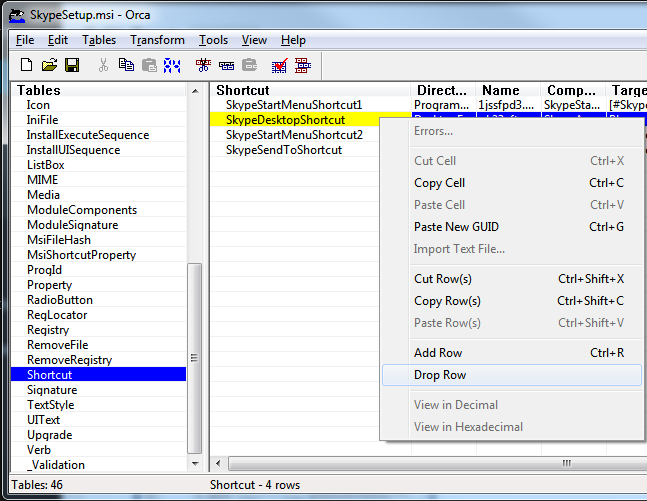
- On the left hand menu click on ‘Shortcut’
- Right click on the row titled ‘SkypeDesktopShortcut’ and choose ‘Drop Row’
- Save the changes and close Orca
- Create a text file called install.cmd and copy in the following information
@echo off
"%~dp0SkypeSetup.msi /passive /norestart
REM Return exit code to SCCM
exit /B %EXIT_CODE%
- Copy the customised SkypeSetup.msi and install.cmd to your software package share
- You can now create your SCCM package or deploy the software by using install.cmd
For more information on creating SCCM packages see distribute software using SCCM.
Can you modify this to handle previous versions already installed?
Hey Attila.
I need a script to install skype on a pc remoteley via an online download. Im running it with an Automated program. I need some solid help and you guys seem to be the one’s to help out.
Here’s an even easier method to stop it from automatically running on Windows startup/logon, and other options. No need to edit using ORCA. See this post in the community forums:
http://community.skype.com/t5/Windows/Unattended-install/td-p/184628
To stop it from running at startup/logon, just add TRANSFORMS=:RemoveStartup.mst to the msiexec command line. I will say, from that post, in my experience, the section regarding installing or not installing the IE and Firefox plugins is irrelevant. From what I can tell, the Business version doesn’t include any of those anyway and I’ve seen no difference in installation results including or not including any of those command line options regarding IE and FireFox plugins.