When creating user mailboxes using Exchange 2010 you have two options, adding a mailbox to an existing Active Directory user account or creating both the Active Directory user account and mailbox together.
The following process details how to create a new Active Directory user account with mailbox, otherwise know as a ‘mailbox-enabled user account’.
Creating Domain User Accounts with Mailboxes
- In the Exchange Management Console, expand the ‘Recipient Configuration’ node, and then select the ‘Mailbox’ node
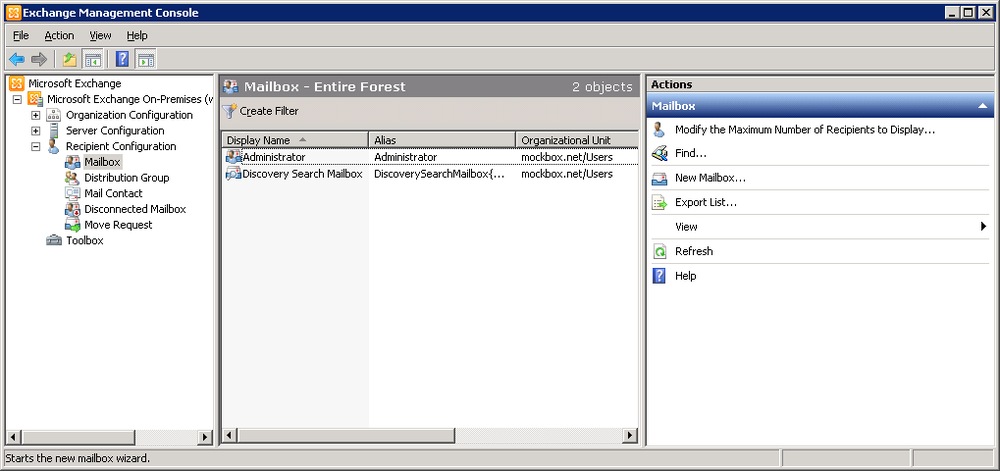
- From the ‘Actions’ pane, select ‘New Mailbox’
- Ensure ‘User Mailbox’ is selected then press ‘Next’
- Ensure ‘New User’ is selected then press ‘Next’
- Enter in the required information for the new user account and mailbox. You also have the option of specifying the Active Directory organisational unit.
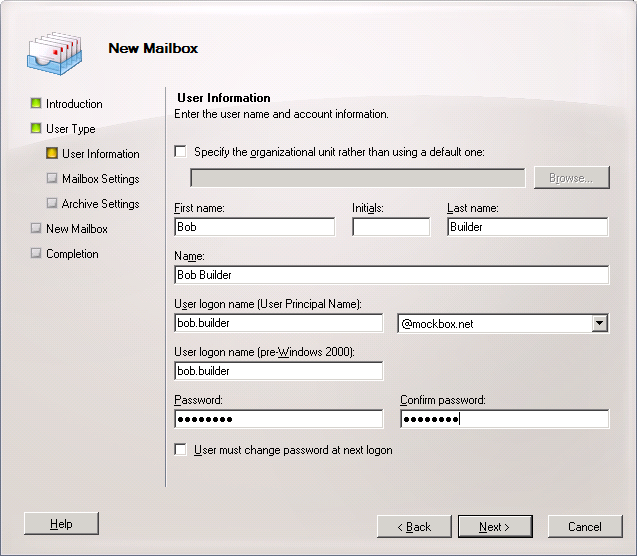
- Click ‘Next’
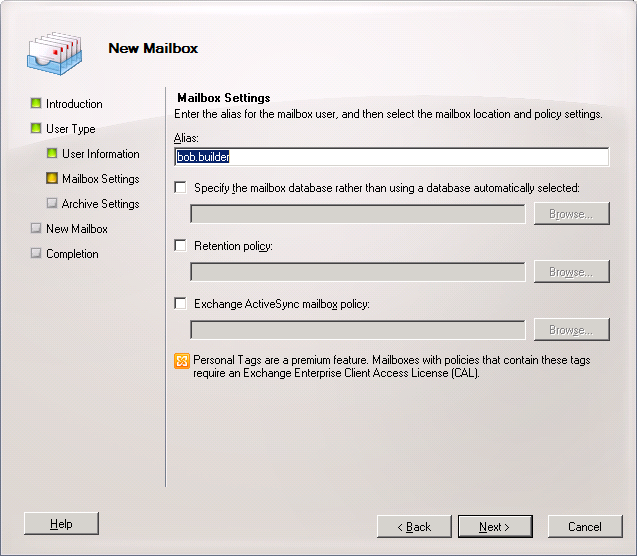
- Ensure the ‘Alias’ is correct (this will become the first part of the email address) then click ‘Next’
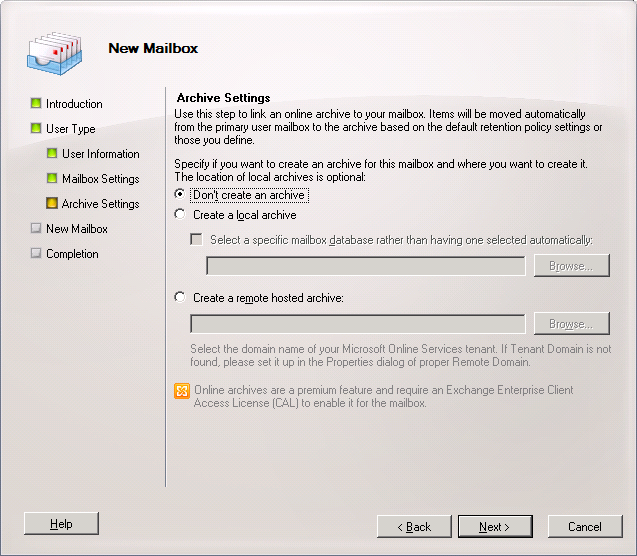
- If an archive is required, select ‘Create a local archive’ otherwise click ‘Next’
- Click ‘New’ to create the new user account and mailbox
- When finished, click ‘Finish’ to close the wizard.
What’s up, I desire to subscribe for this webpage to obtain newest updates, therefore where can i do it please assist.|
I was curious if you ever considered changing the page layout of your website? Its very well written; I love what youve got to say. But maybe you could a little more in the way of content so people could connect with it better. Youve got an awful lot of text for only having 1 or two images. Maybe you could space it out better?|