You may be familiar with the trusty “Print Screen” button on your keyboard that takes a copy of your screen, that you can paste into a document or image editor.
But did you know that there are actually multiple ways to do a print screen?
Here are three ways to use Print Screen in Windows 10:
Alt + Print Screen
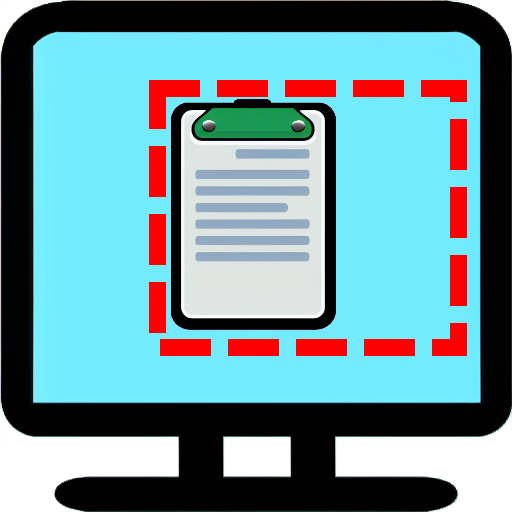
This combination of keys allows you to take a screenshot of just the active window on your screen.
To use it, hold down the Alt and Print Screen buttons on your keyboard.
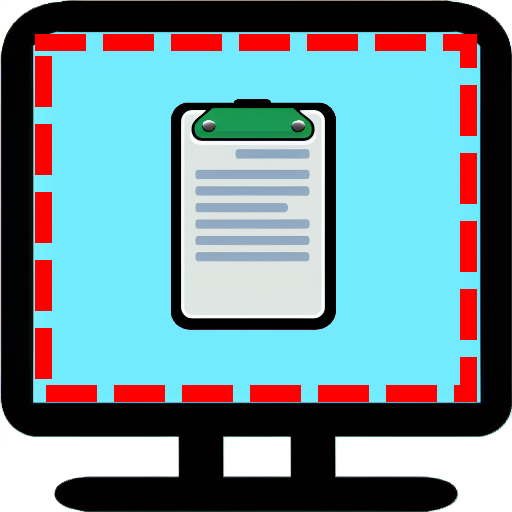
This will take a screenshot of the active window and save it to your clipboard.
Windows + Print Screen
This combination of keys allows you to take a screenshot of your entire screen, including any open windows or menus.
To use it, hold down the Windows key and Print Screen buttons on your keyboard.
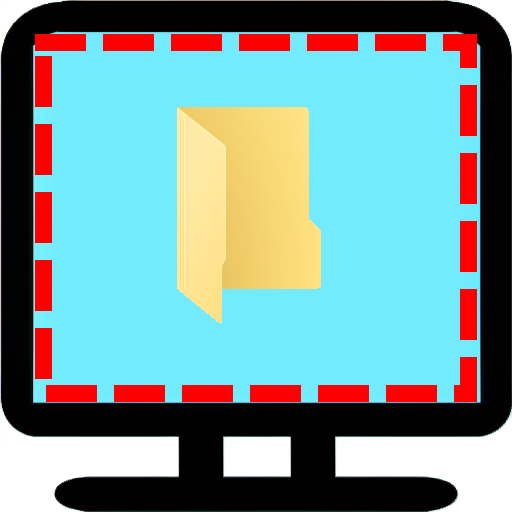
This will take a screenshot of your entire screen and save it to a special folder called “Screenshots” in your Pictures folder.
Windows + Shift + S
This combination of keys allows you to take a screenshot of a specific area of your screen.
To use it, hold down the Windows key + Shift and S on your keyboard.
This will bring up a small menu that allows you to select a specific area of your screen to screenshot.
Once you’ve selected the area you want, the screenshot will be saved to your clipboard.
What’s the difference?
So, what’s the difference between these three methods of using Print Screen in Windows 10
It comes down to:
- The screen area being captured – full screen, active window, specific area
- Where the image is saved – clipboard vs folder
So next time you need to take a screenshot on your Windows 10 computer, try using one of these methods and see which works best for you.