The Active Directory Users and Computers tools come as part of the Microsoft Server Tools. Once the Server Tools are installed you are able to add the Active Directory Users and Computers tools features to the computer. The steps below detail how to do this.
Table of contents
Step 1: Download from Microsoft website
- Download the package here: https://docs.microsoft.com/en-us/troubleshoot/windows-server/system-management-components/remote-server-administration-tools – make sure to select the correct one for your system, 32-bit or 64-bit
Step 2: Install the update package
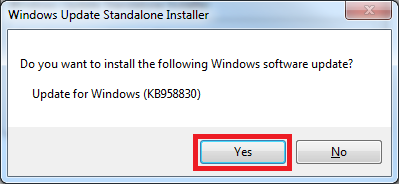
- When you run the update package you will see this message, which explains that you are able to install an update – click ‘Yes’
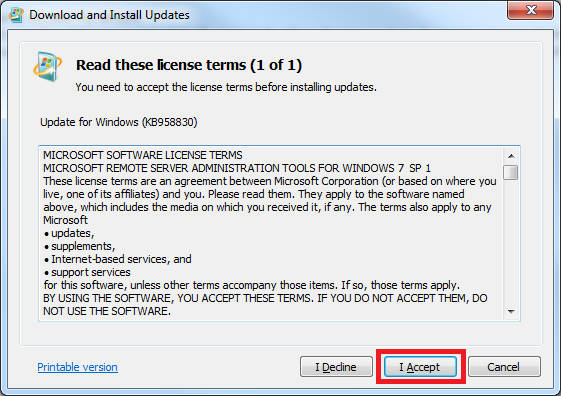
- Then after reading and agreeing to the terms, click ‘I Accept’
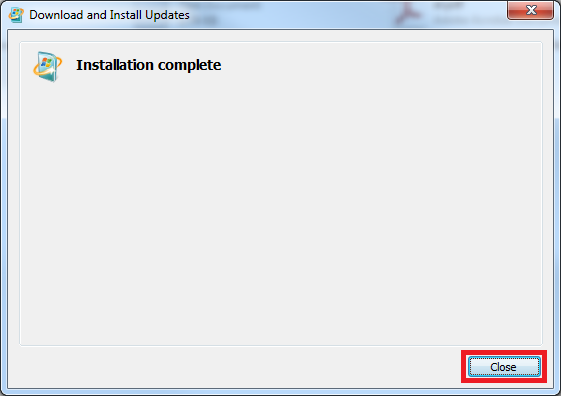
- The installation will take a few minutes, when complete click ‘Close’
Step 3: Turn on the “feature”
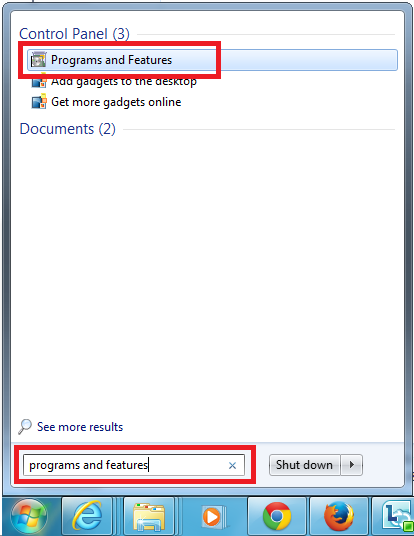
- Open the Windows Start menu and in the search box type ‘Programs and Features’.
- When it appears above, click on the icon for ‘Programs and Features’
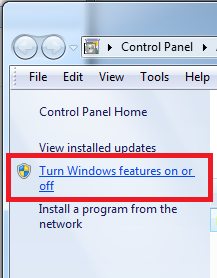
- On the left of the window click on the link for ‘Turn Windows features on or off’
- Expand Remote Server Administration Tools > Role Administration Tools > AD DS and AD LDS Tools > AD DS Tools
- Place a tick next to ‘Active Directory Administrative Center’

- Click ‘OK’ to save the changes
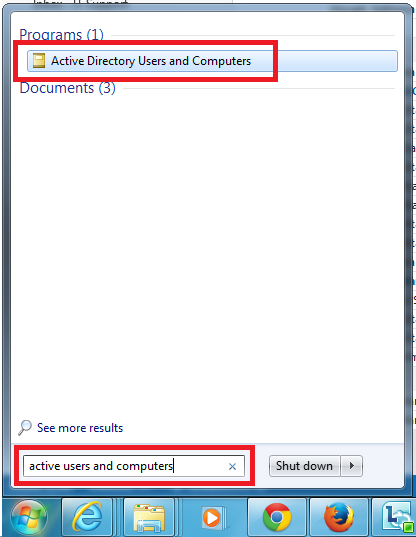
- Once it is installed you can use the Windows Start menu to find ‘Active Directory Users and Computers’
Hi, its very well explained but when I try to download the package from the link above – its shows that the “download is no longer available “. I would be greatful if anyone could share the downloadable package.