I’m not interested in getting into the technical aspects of setting up a VPS as a web server – instead I choose to use DigitalOcean and ServerPilot to get me going in minutes – not the hours or even days it can take to install and configure all the pieces of the stack.
On this pageJump to a section
Here’s what you get:
- WordPress on a managed VPS for a bargain price
- A choice of PHP versions – 5.4, 5.5, 5.6, 7.0 or 7.1
- Nginx in front of Apache
- PHP-FPM – PHP’s official FastCGI process manager
- MySQL
- HTTP/2
- Google PageSpeed Module
Note: this solution does not provide automated backups of your website or DNS hosting and management.
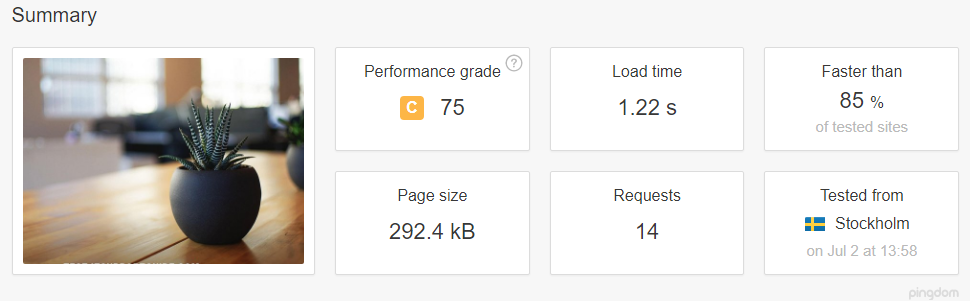
And boy is it quick! This is a base install of WordPress, no caching, no optimising (other than what the server does for us).
Here’s the process took to set this up.
Step 1: Digital Ocean
Signup and verify
- Head over to DigitalOcean and create an account – if you use my referral you get a bonus $10 credit – giving you a two months free hosting. https://m.do.co/c/4f79d0a4ae0f
- After verifying your email address you’ll need to verify your account by either providing your credit card details (no charges applied) or paying $5 through PayPal (leaving you with $15 credit).
Setup SSH
SSH will allow you to securely access your host using a security certificate instead of a password – think of it as a super strong password.
See the official DigitalOcean documentation: https://www.digitalocean.com/community/tutorials/how-to-use-ssh-keys-with-digitalocean-droplets
Create the “droplet”
Now you’re ready to create your first “droplet” (what DigitalOcean calls VPS instances).
- Click on the ‘Create’ button at the top right of the page and choose ‘Droplets’

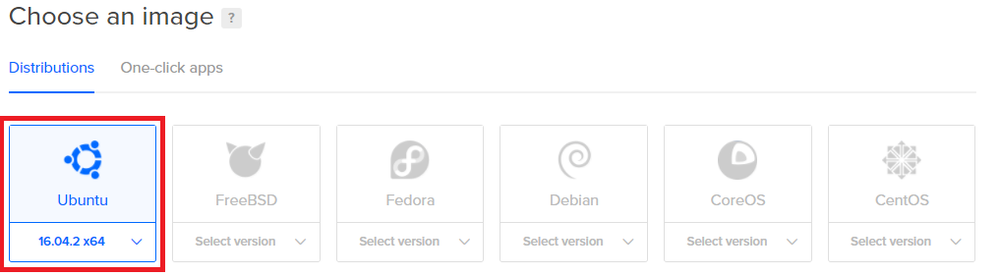
- DO NOT select the WordPress one-click install. Instead, choose ‘Ubuntu’
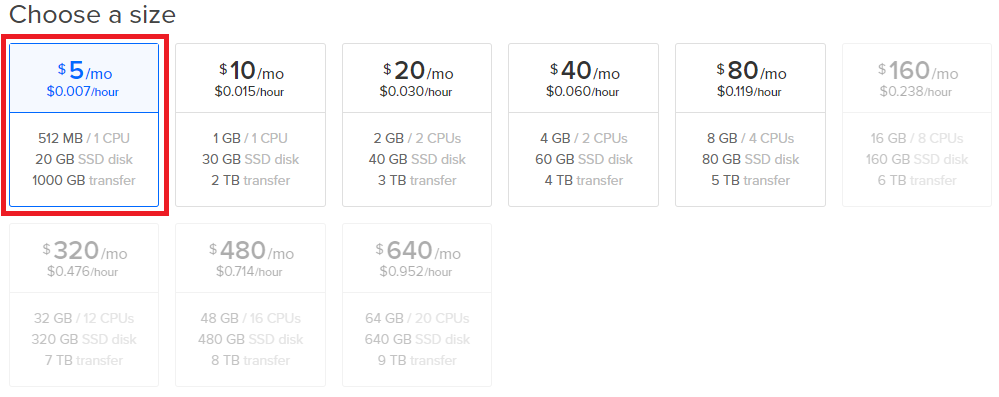
- Under ‘Choose a size’ choose the $5 a month plan – you can always upgrade later on if you need more resources
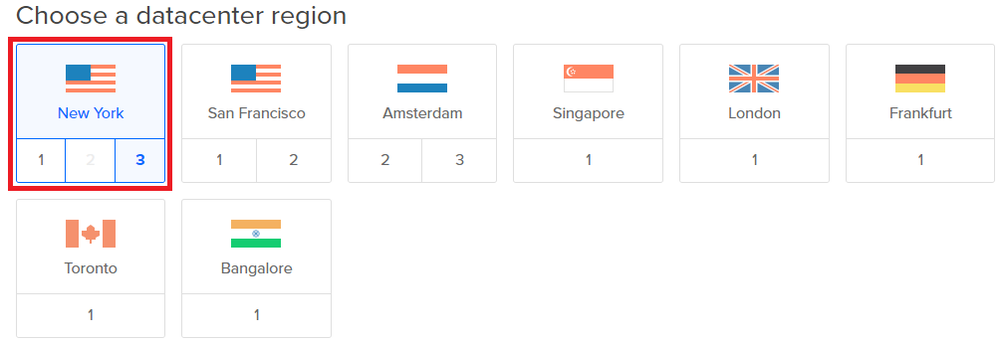
- Under ‘Choose a datacenter region’ choose a region that is closest to your target audience – if in doubt, New York is an excellent choice.
- Under ‘Select additional options’ tick ‘Monitoring’ (you can choose other options – but some come at an added cost (e.g. backups adds 20% cost)

- If you create an SSH earlier, select it under ‘Add your SSH keys’

- Finally, under ‘Choose a hostname’ enter a name for the droplet – I like to use the name of the website
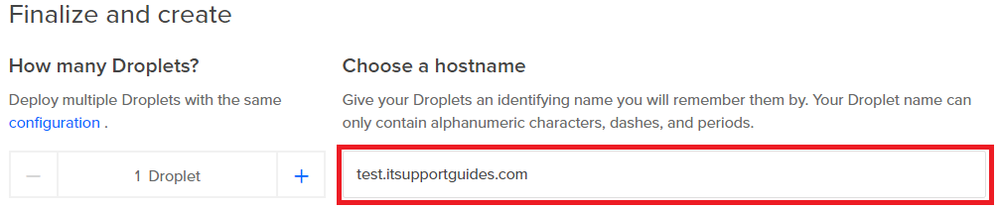
- Then click ‘Create’ to start creating the droplet.
- After a few seconds the new VPS will be created and ready to use
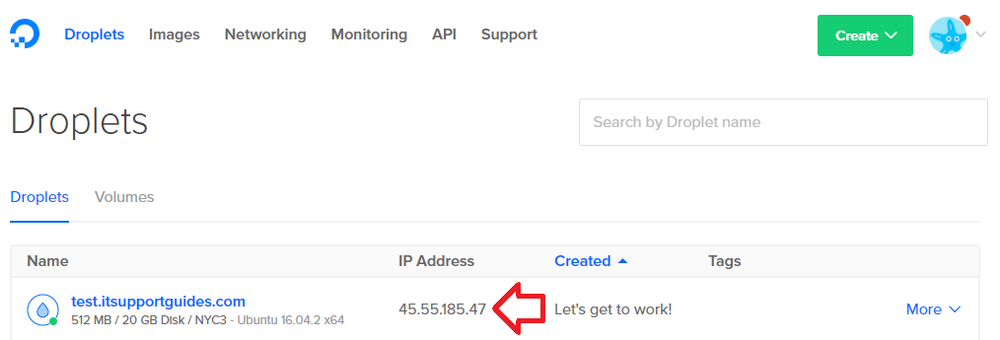
- Click on the name of the server, then click on ‘Access’ in the left hand menu
- Under ‘Reset root password’ click on the ‘Reset Root Password’ button
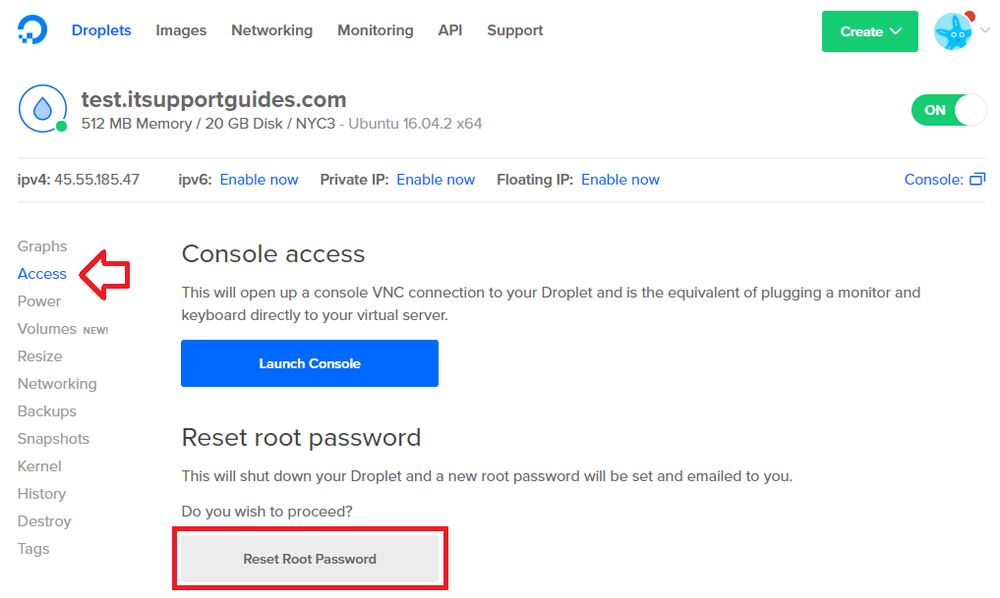
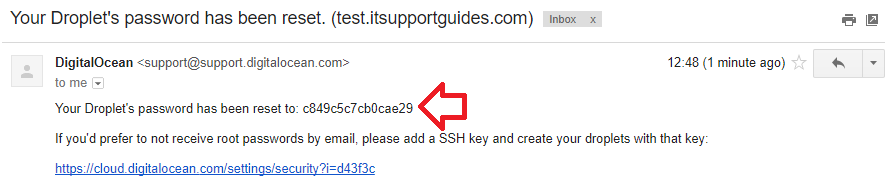
- A temporary password will be sent to your registered email address
- Now click on the ‘Console‘ link at the top right
- A window will open displaying the console of your VPS – note that you cannot copy-paste into this window
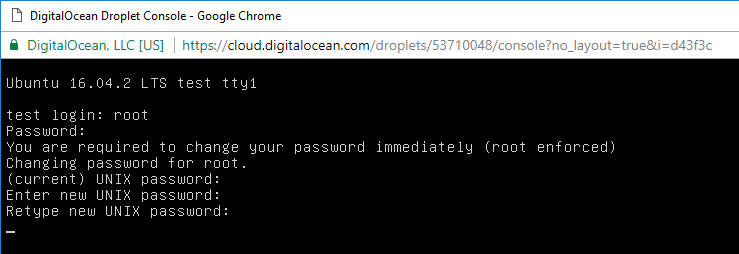
- Enter the login of “root” and the password you received in the email
- You will now be prompted that the password needs to be changed – enter in the same password again
- Then when prompted enter in a new password (twice) — this password protects your server, it is critical that it is 100% secure and un-guessable – use a random password generator to create a password of 16+ characters.
- When you have successfully set the new password you will see the following prompt
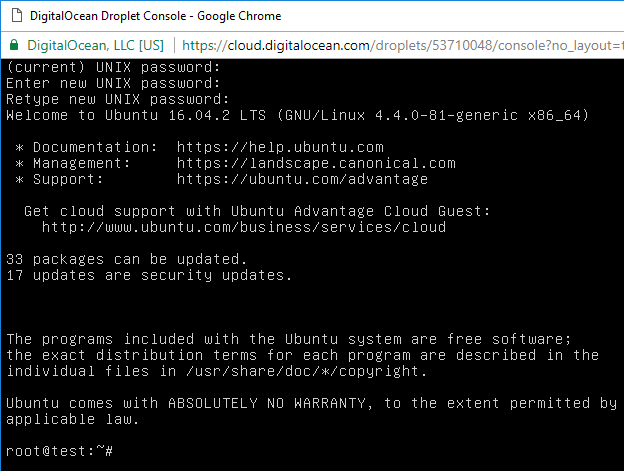
- You can now close the console window.
Step 2: Configure the domain
This step depends on your DNS host – so cannot be documented.
But you now need to point your domain name, in this case test.itsupportguides.com to the IP address of the VPS you just created.
Note: DNS changes can take time to be seen across all networks. If you cannot “ping” the domain name to resolve the IP address – restarting your modem may help speed things up, failing that you will just need to wait. It can take up to 24 hours, but typically is ready in under 15 minutes. You can however progress to step 3 while you wait.
Step 3: ServerPilot
- Head over to ServerPilot and create an account – if you use my referral you get a bonus $10 credit – giving you a two months free hosting. https://serverpilot.io/a/95fbef7f86ad
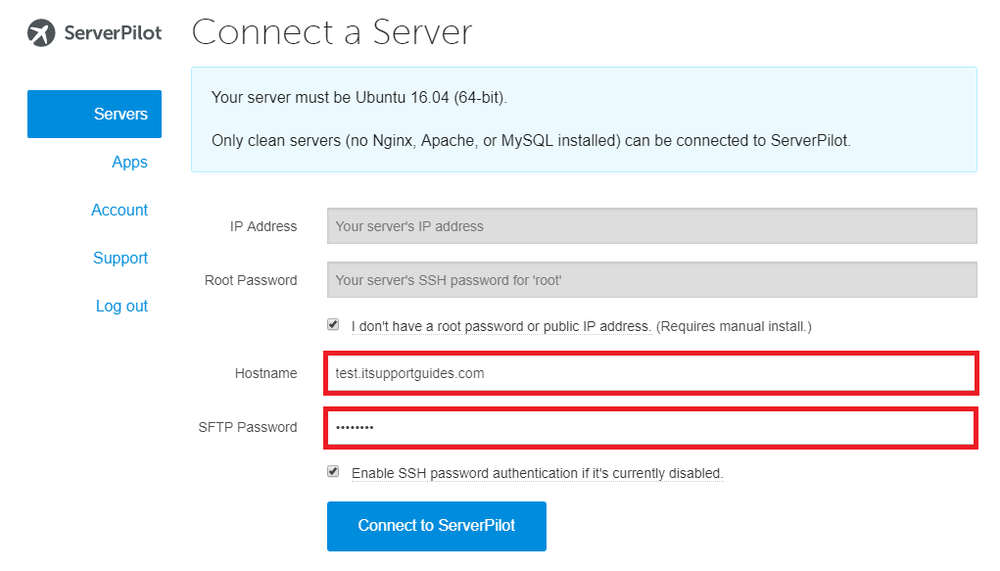
- Once logged in click on the ‘Connect a Server’ button

- Tick ‘I don’t have a root password or public IP address. (Requires manual install.)
- Enter in the hostname and a password that you (and ServerPilot) will use for SFTP (FTP) access.
- Click ‘Connect to ServerPilot’
- The next screen will give you a set of commands to enter into the VPS’s console
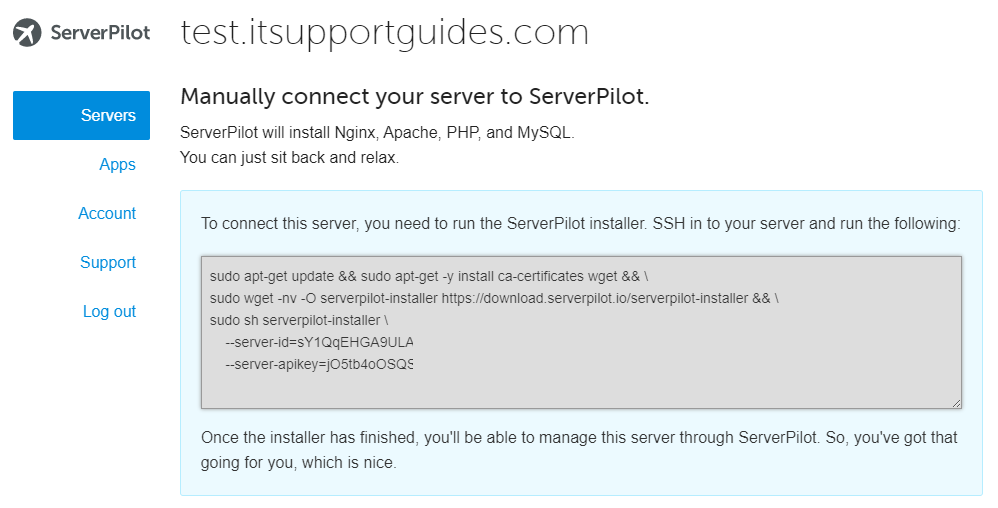
- Return to the ServerPilot website, open the console and enter the command as instructed — don’t hit the enter key until you’ve completed entered in the whole command

- Once the command has ran, refresh the page at ServerPilot and you should now see the IP address listed with the server you added
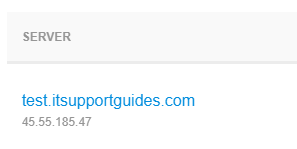
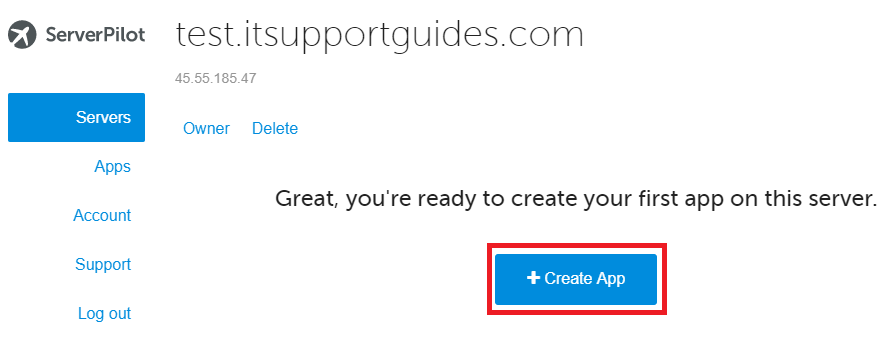
- Click on the server name
- Click on ‘Create App’
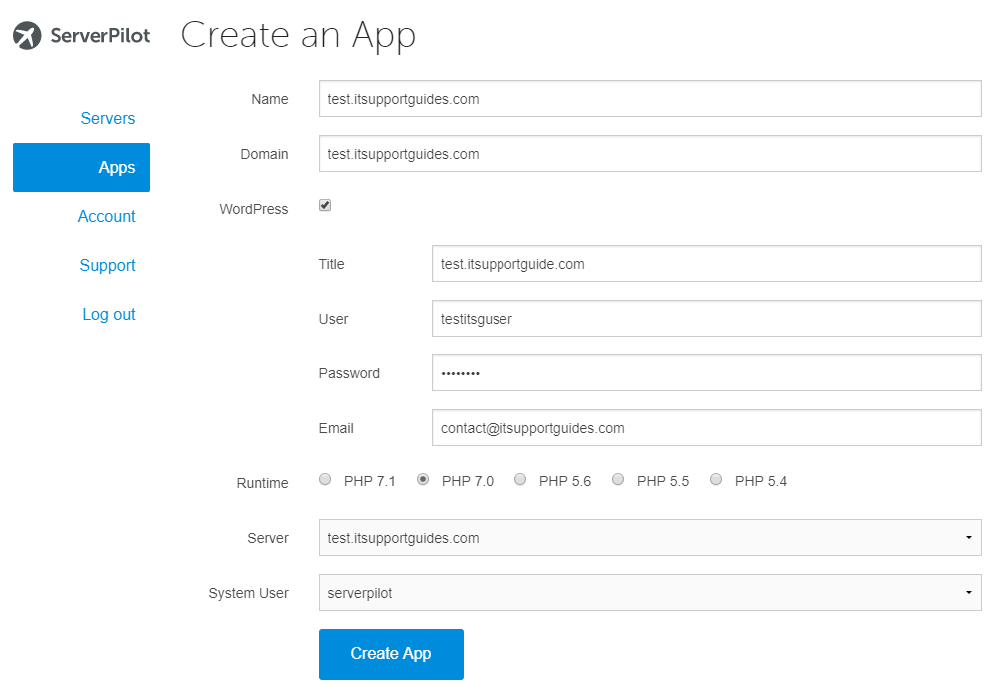
- Enter in the name and domain
- Tick ‘WordPress’ and enter in the WordPress details for the new install — note these down for later! Note: if you plan to migrate an existing WordPress install to this site I like to keep the login details the same for simplicity.
- Now sit back and let ServerPilot do all the hard word – your WordPress install will be running shortly.
- When it’s done, load the website and enjoy !
Here’s what the performance looks like for this install