This article will go through the process of doing the initial VMWARE ESXi 5 installation.
On this pageJump to a section
System Requirements:
- A computer system with a 64-bit processor
- 2GB RAM or more
- Storage area for ESX operating system to be installed (SATA, IDE, SCSI, SAS etc)
- One or more network adaptors
More information on the system requirements can be found here: http://kb.vmware.com/selfservice/microsites/search.do?language=en_US&cmd=displayKC&externalId=1003661
Step 1: Download the installation ISO
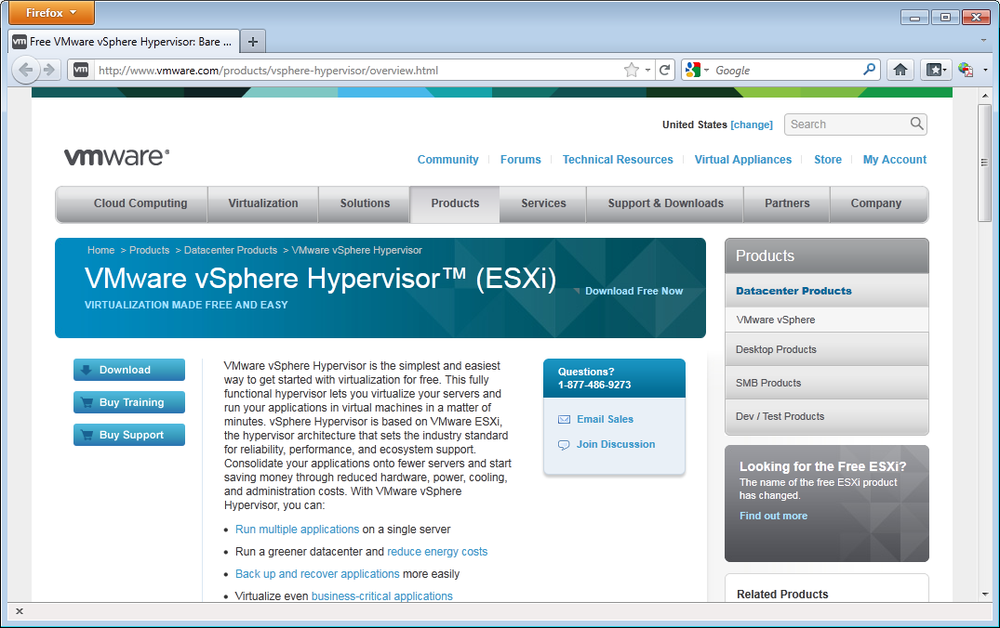
- Go to the VMware vSphere Hypervisor™ (ESXi) website and download the ISO file
- You will need to use an account to access the file. If you do not already have an account you can create one.
http://www.vmware.com/products/vsphere-hypervisor/overview.html
- Under ‘Option 2: Download ESXi’ expand ‘Binaries’
- For ‘ESXi 5.0 Installable (CD ISO)’ select ‘Manually Download’
- Take note of the license code for later on in the process
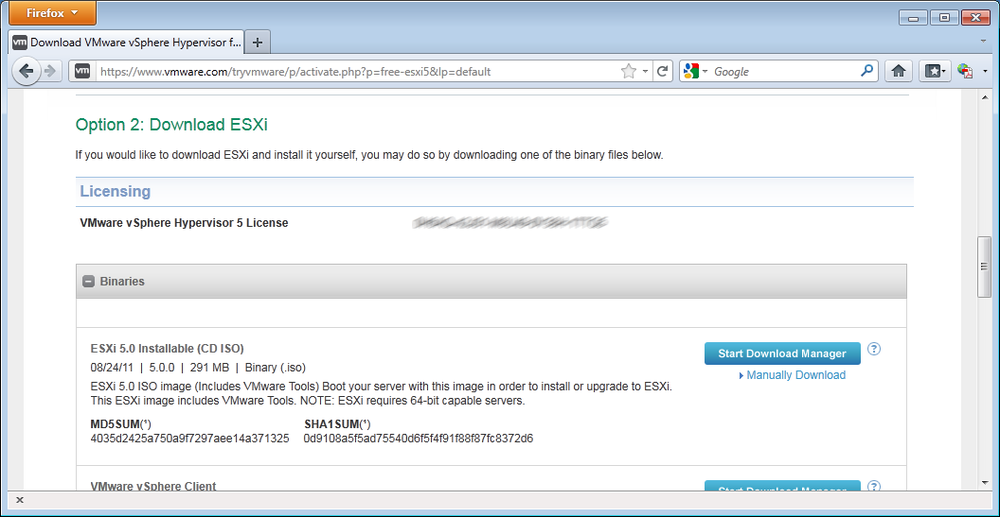
- Save the ISO file to a temporary location (i.e. your desktop)
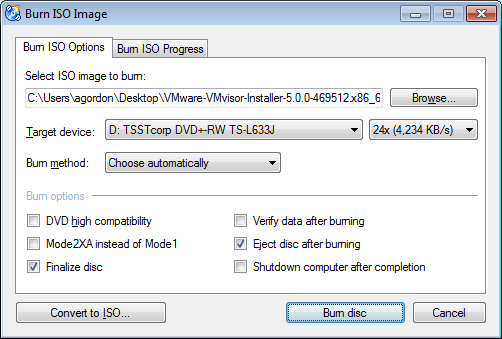
- Burn the ISO file to a CD using your preferred burning software (in this example we used CDBurnerXP)
Step 2: Install the ESXi Hypervisor
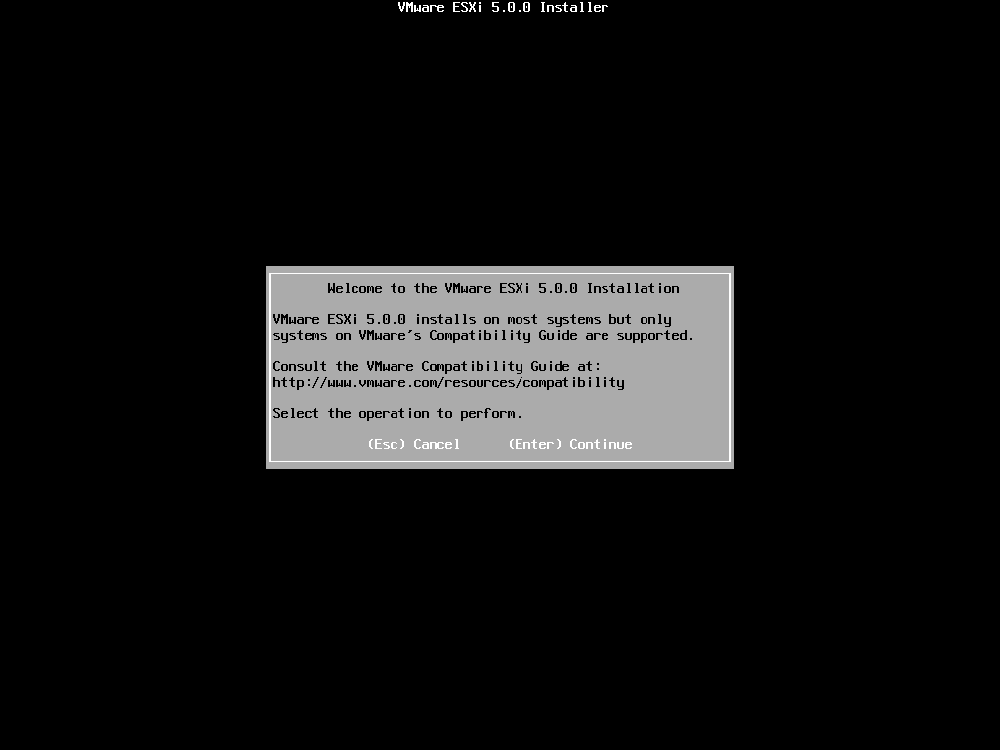
- Using your server, boot the burned CD
- The VMWare ESXi 5 Installer will begin loading, when ready press ‘Enter’ to continue
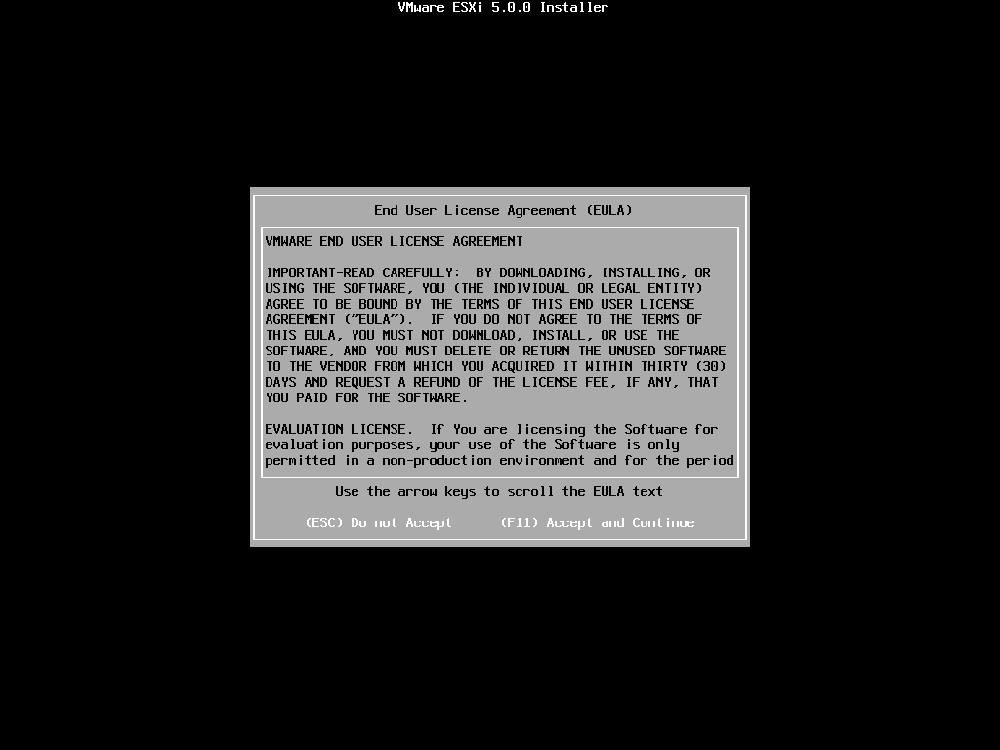
- Press ‘F11’ to accept the license agreement
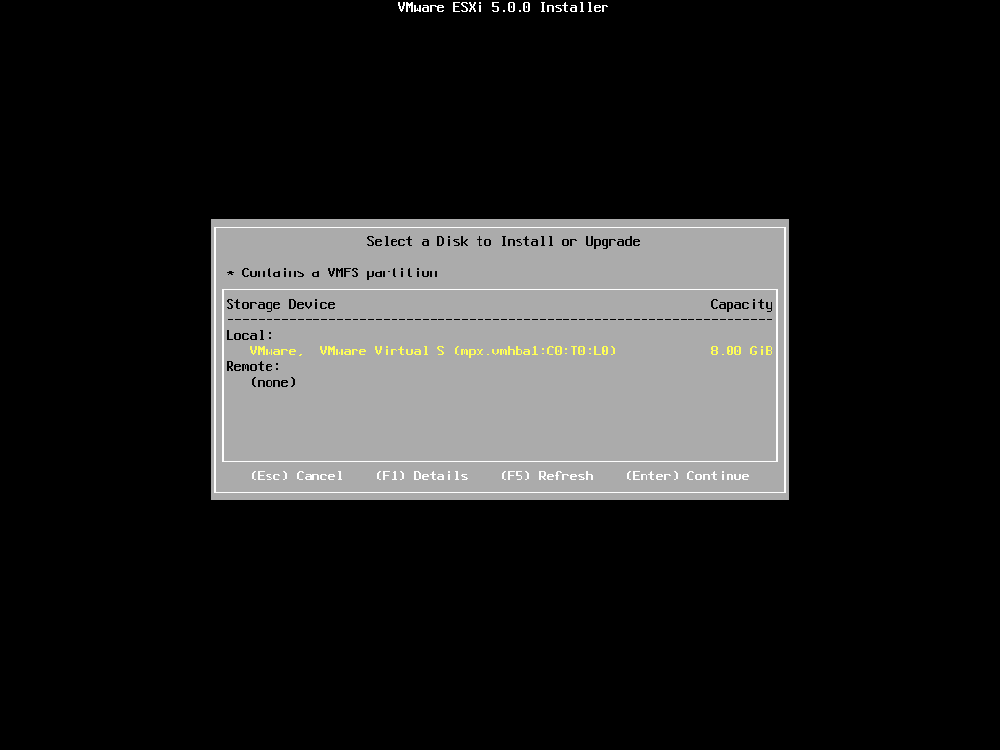
- Select the storage device for VMWare ESXi to be installed to, then press ‘Enter’
- Select the appropriate keyboard layout (US Default) then press ‘Enter’ to continue
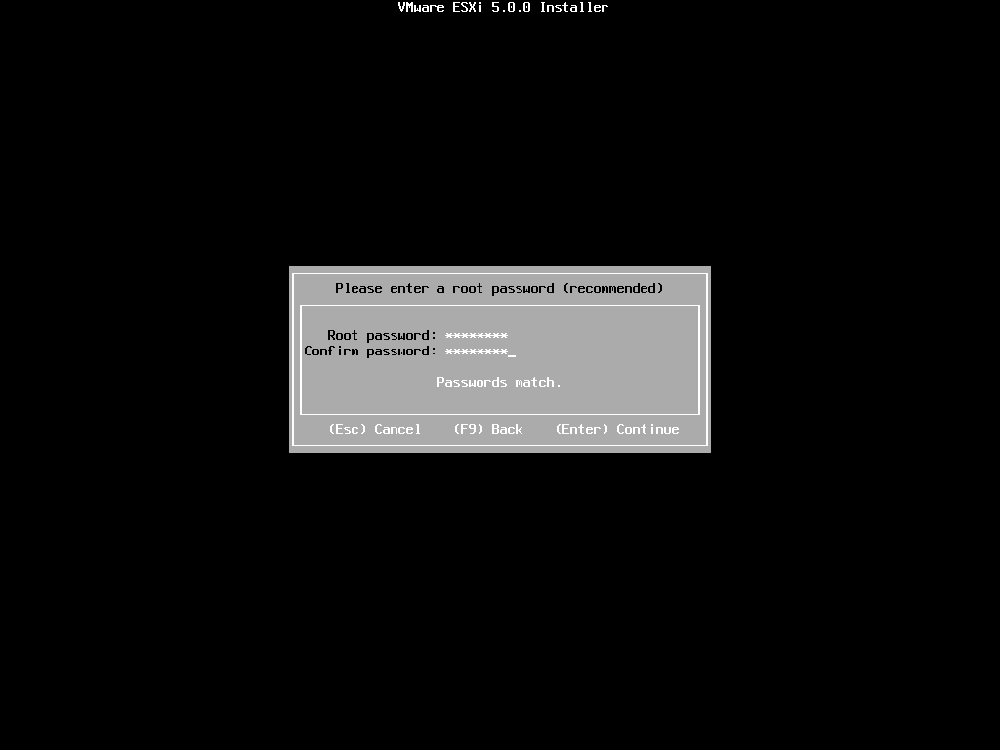
- Enter a root password for VMWare ESXi then press ‘Enter’ to continue
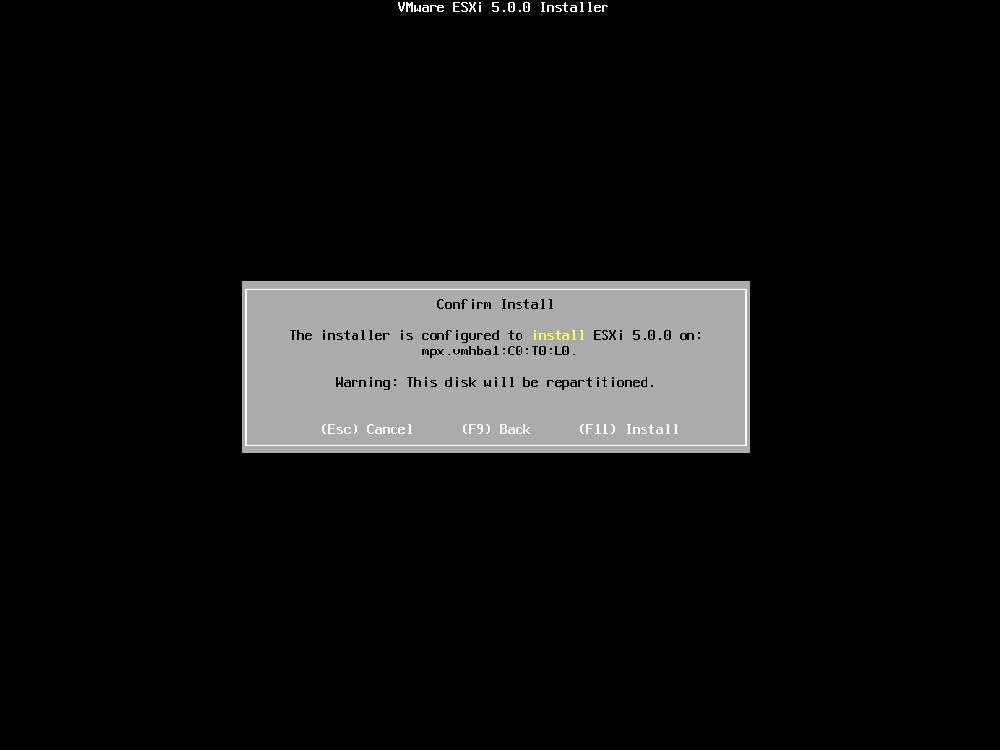
- At the ‘Confirm Install’ message, press ‘F11’ to continue the installation
- The installation will take a few minutes to complete. When the installation is complete press ‘Enter’ to reboot.

Step 3: Configure the network
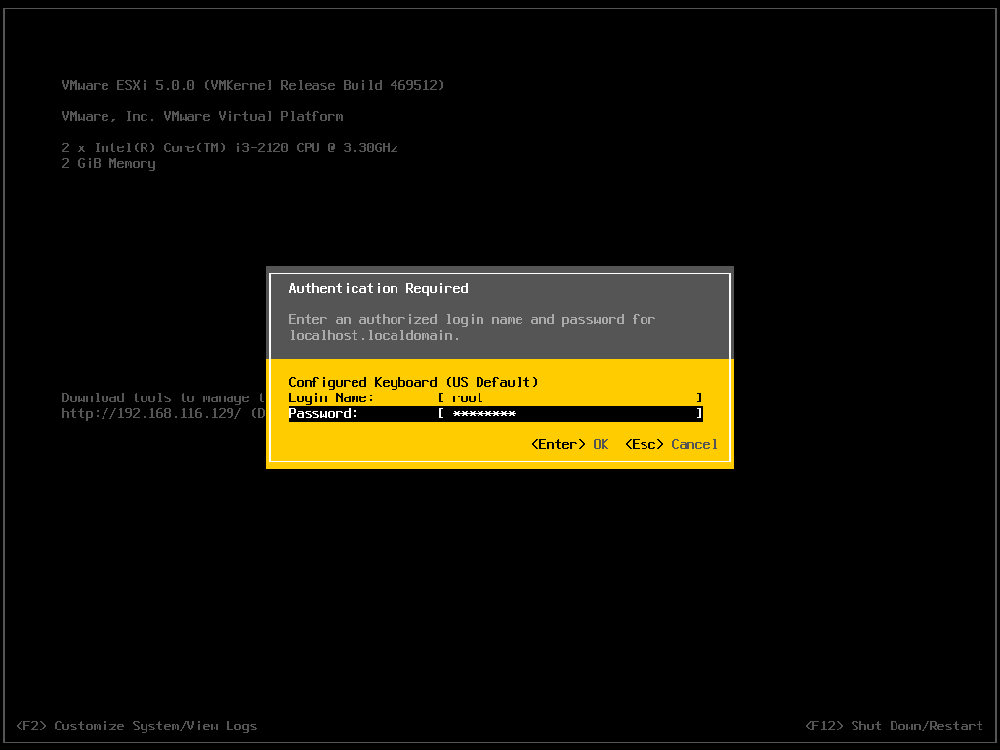
- Once the system has restarted and loaded VMWare ESXi press ‘F2’
- Enter in the password for the root account and press ‘Enter’
- Using the keyboard, select ‘Configure Management Network’ then press ‘Enter’
- Select ‘IP Configuration’ then press ‘Enter’
- Select ‘Set static IP address and network configuration’ then press ‘Space’
- Using the keyboard select and modify the network settings are required
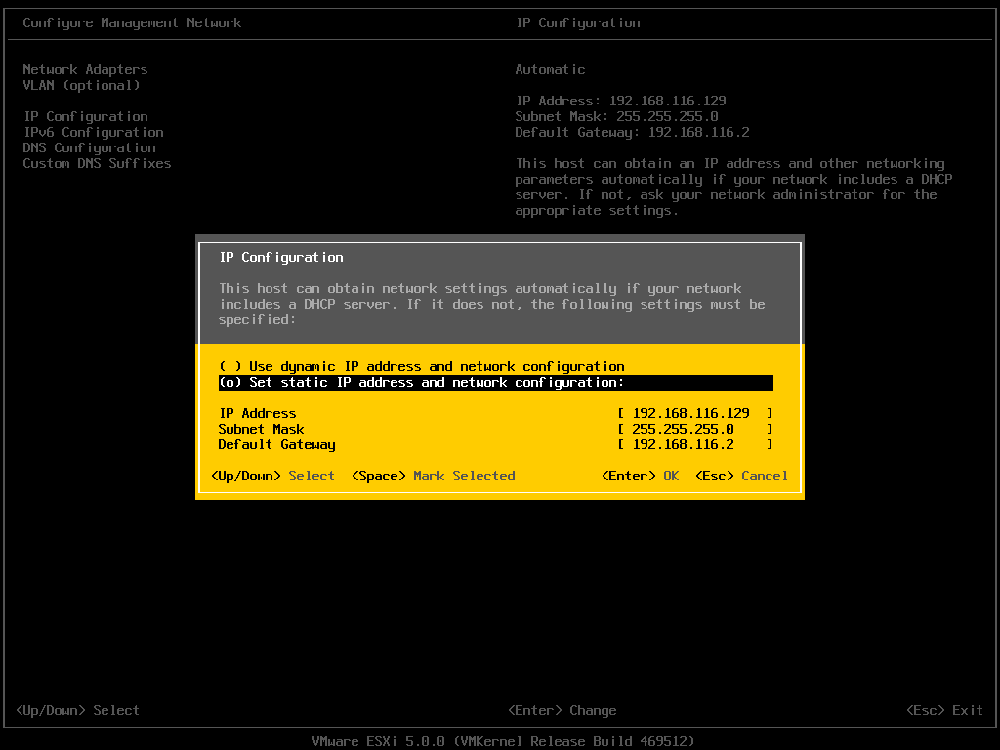
- Press ‘Enter’ to save the changes
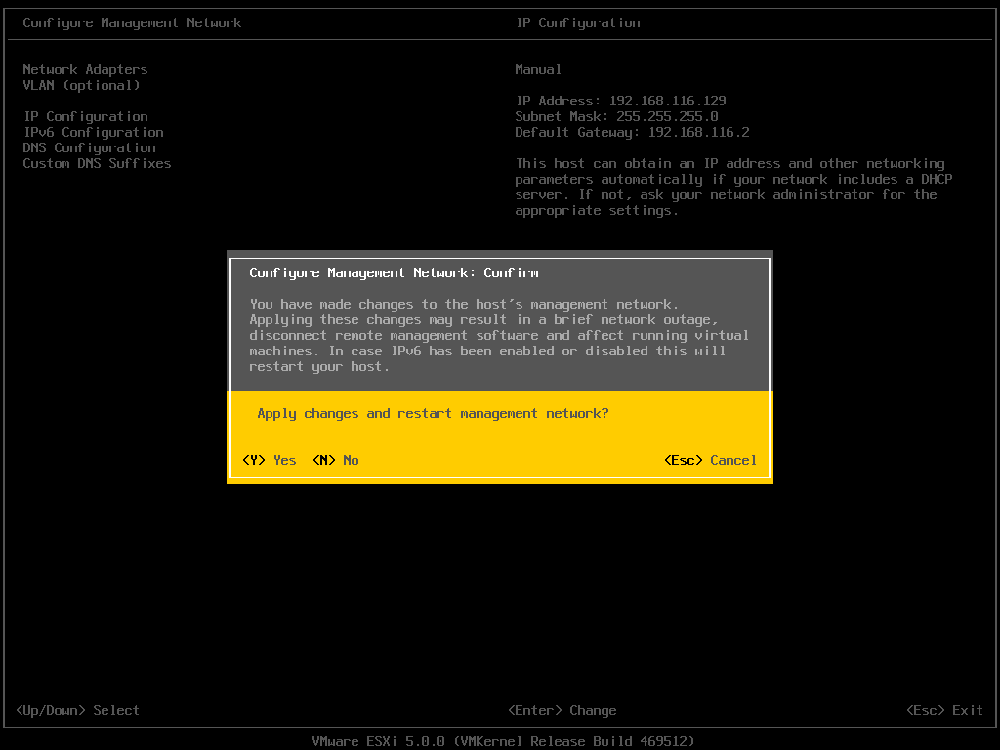
- Press ‘Esc’ to close the ESXi management console
- Press ‘Y’ to apply the changes
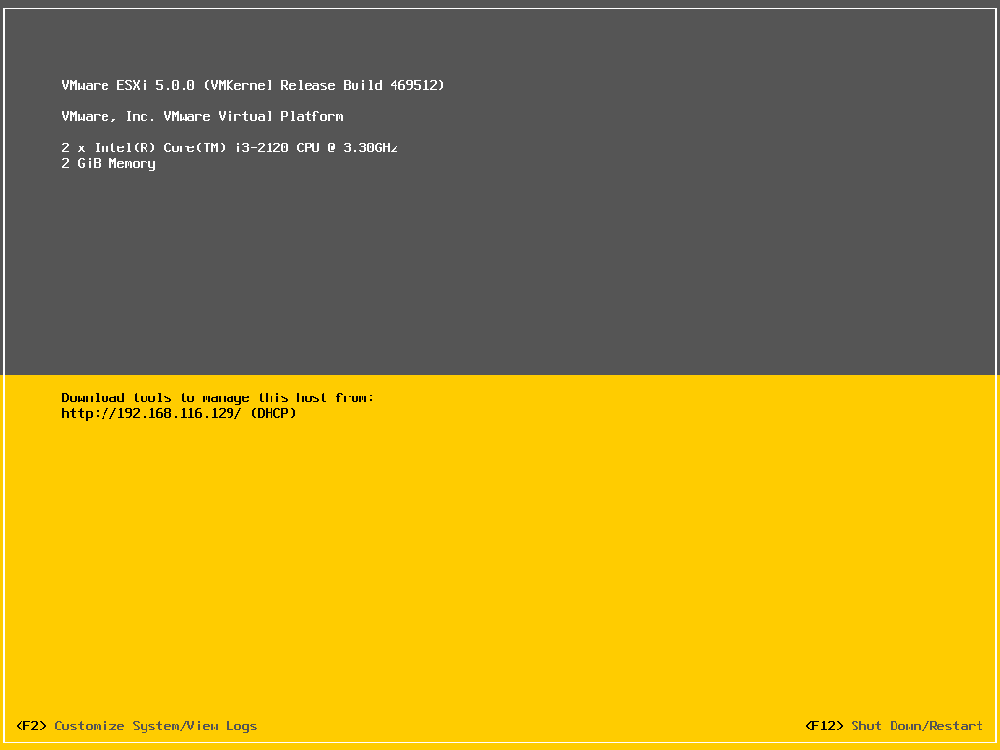
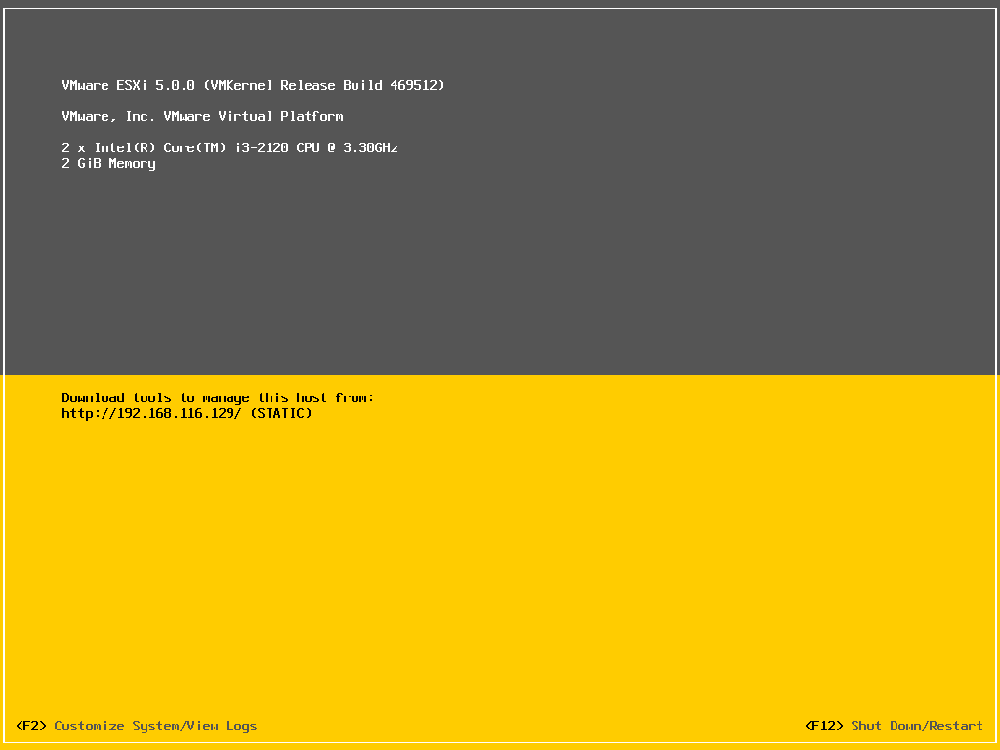
- The ESXi console will now display the management (network) address as ‘STATIC’
Step 4: Manage the ESXi host
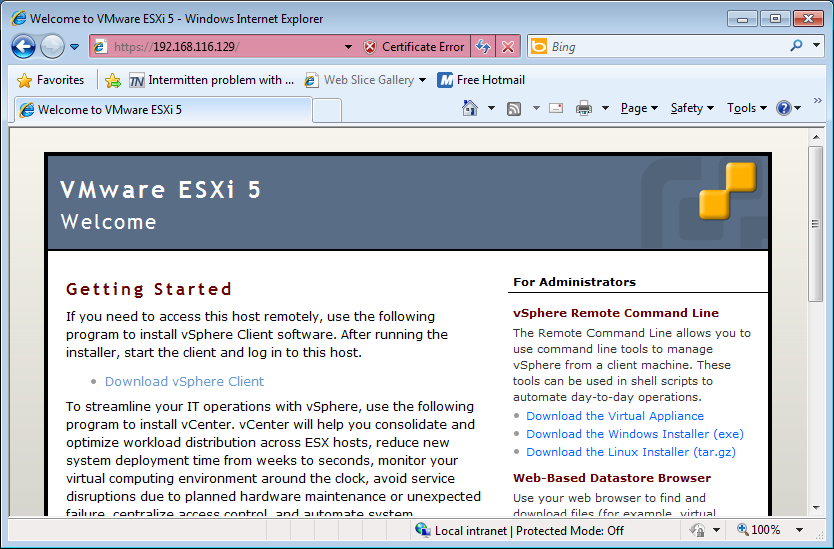
Management of the ESXi host can be done by using the VMWare vSphere software. The simplest way of accesing this software is by loading the management address (as above), for example http://192.168.116.129
- Using Internet Explorer, open the management address
- If you receive a certificate security message, select ‘Continue to this website’
- Click on the ‘Download vSphere Client’ link
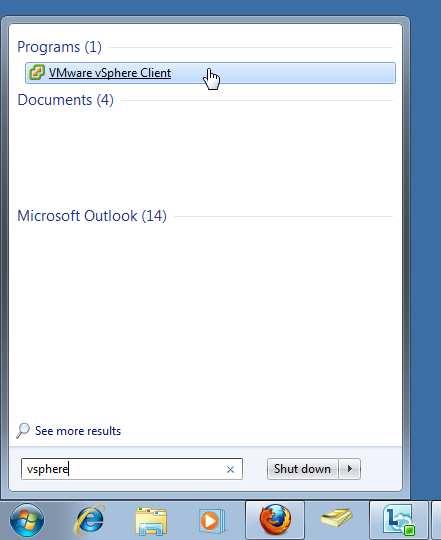
- Save and install the vSphere software
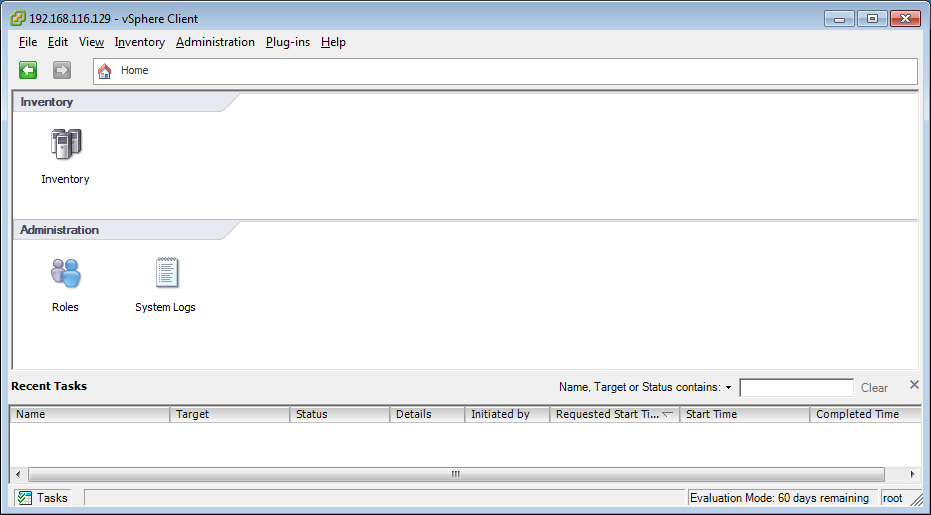
- Open the VMware vSphere Client
- Enter in the IP address (or host name) for the ESXi host, the User name and Password then click ‘Login’
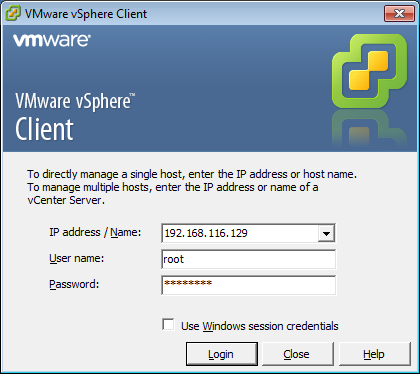
- If you receive a certificate error message, click ‘Ignore’
Step 5: Register the installation
Whilst VMware ESXi is free, you still need to register it with your unique license information.
- With the vSphere Client open click on ‘Inventory’
- Select the ‘Configuration’ tab
- Under ‘Software’ select ‘Licensed Features’
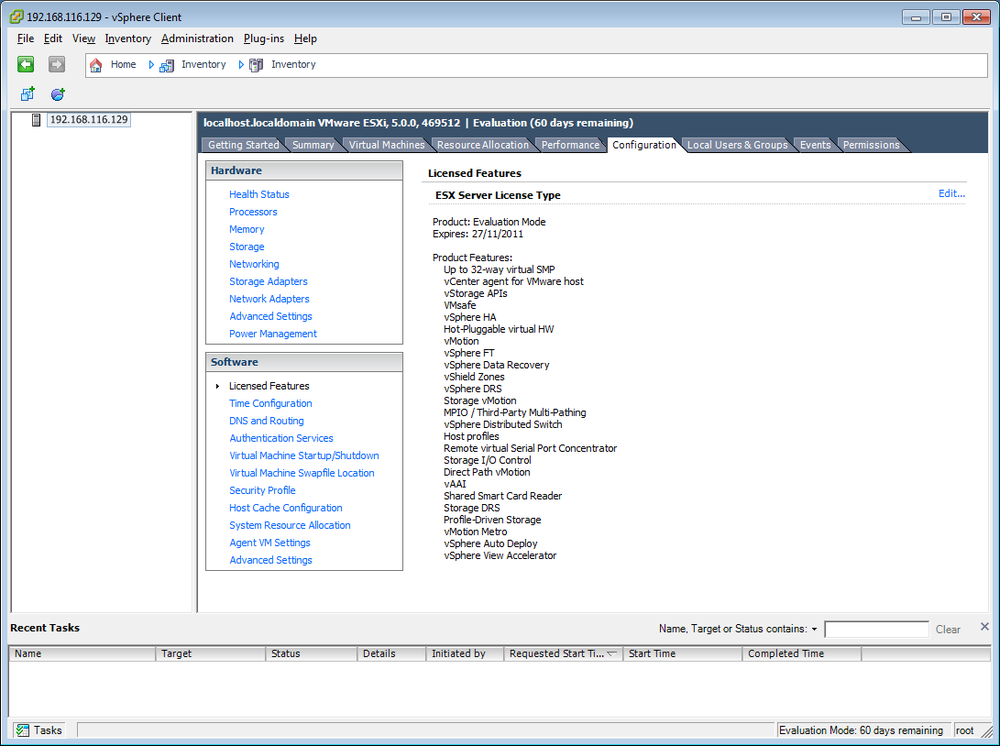
- Click on the ‘Edit’ link at the top right hand corner of the window
- Select ‘Assign a new license key to this host’
- Press the ‘Enter Key’ button and enter in the license key provided when you downloaded the ISO file (Step 1 – 6)
- Click ‘OK’ then ‘OK’ to save the changes