Screen recording has become a vital tool for creating tutorials, presentations, and other multimedia content.
On this pageJump to a section
Open Broadcaster Software (OBS) is one of the best open-source screen recording tools available today.
This article will walk you through setting up OBS to record your computer screen.
What is OBS?
Open Broadcaster Software (OBS) is a free and open-source tool for video recording and live streaming.
It allows you to capture video and audio from multiple sources, mix them together, and broadcast them to your chosen platform.
OBS is available for Windows, Mac, and Linux operating systems.
Common use cases for OBS:
- Live streaming: Broadcast live video content to platforms like Twitch, YouTube, and Facebook Live.
- Screen recording: Create video tutorials, software demonstrations, or presentations by capturing your computer screen.
- Webcam recording: Record video using your webcam for video conferences, online classes, or video podcasts.
- Game streaming: Stream your gameplay to share with friends or build an online gaming community.
- Video mixing: Combine multiple video sources, such as cameras, screen captures, and image slides, for professional-quality video production.
- Audio recording: Capture and mix audio sources for podcasting or voice-over work.
With its comprehensive set of features, OBS is an essential tool for anyone looking to create high-quality video and audio content.
1. Install OBS
To begin, download and install OBS from the official website obsproject.com.
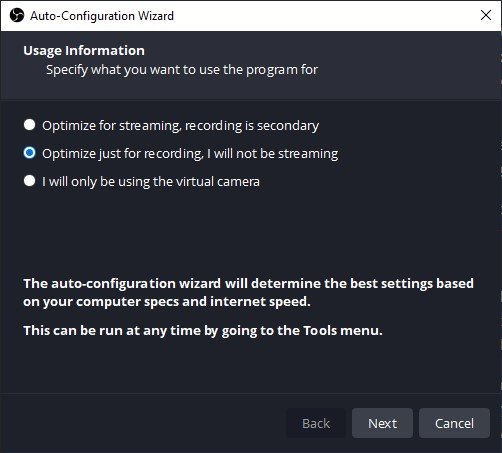
The first time you run OBS you will need to use the ‘Auto-Configuration Wizard’ to optimise OBS for your use.
Follow the prompts as instructed.
2. Configure ‘scenes’ (optional)
In OBS, scenes are layouts that consist of various sources, such as video, audio, images, and text.
Scenes allow you to create tailored visual compositions for your recordings or live streams.
By default all projects have one scene.
To add new scenes:
- Create a new scene by clicking the ‘+’ button under the ‘Scenes’ section.
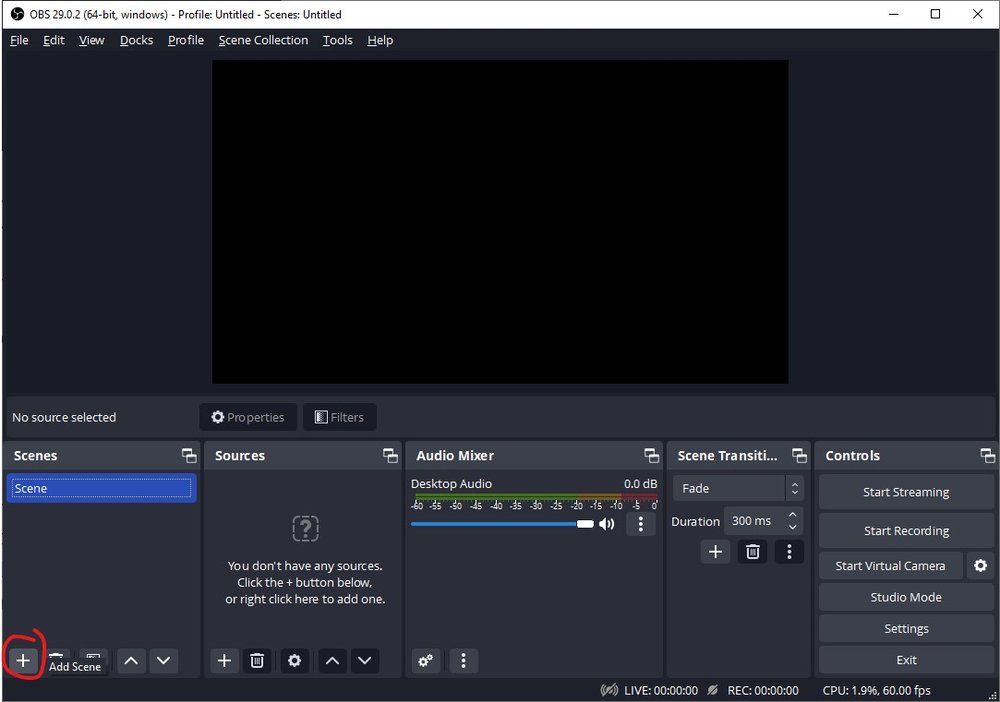
- Enter a name for the scene and click ‘OK’
3. Add ‘sources’
Scenes can include one or more sources such as display capture (desktop recording), video capture device (webcam recording), and audio inputs.
- Add a source by clicking the “+” button under the “Sources” section.
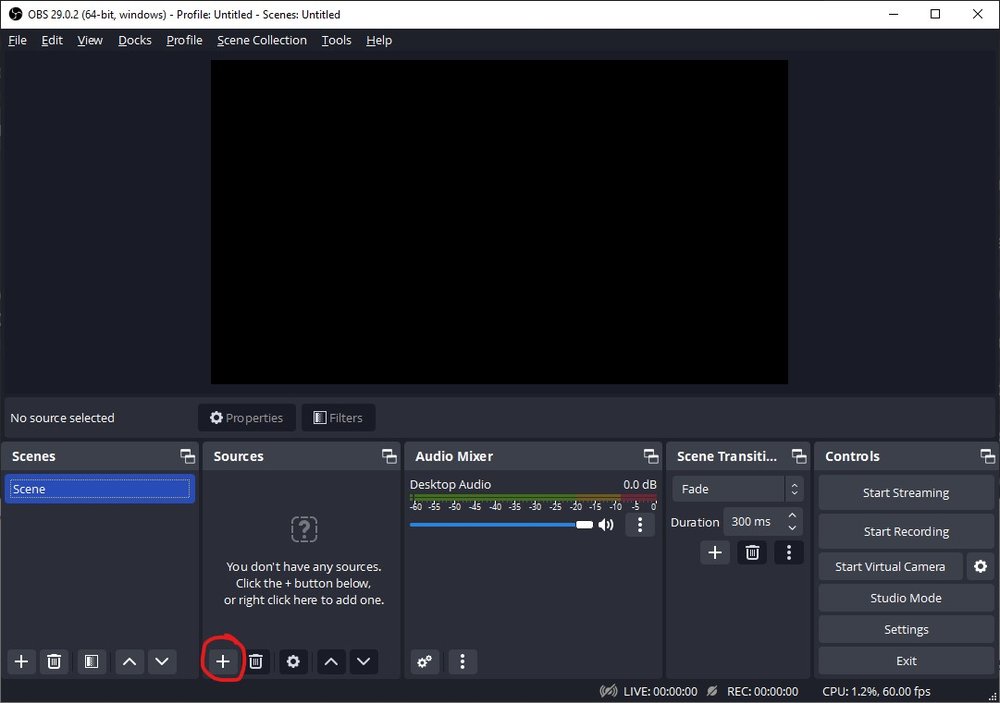
- Select the source you require – for example ‘Display Capture’ will record your desktop.
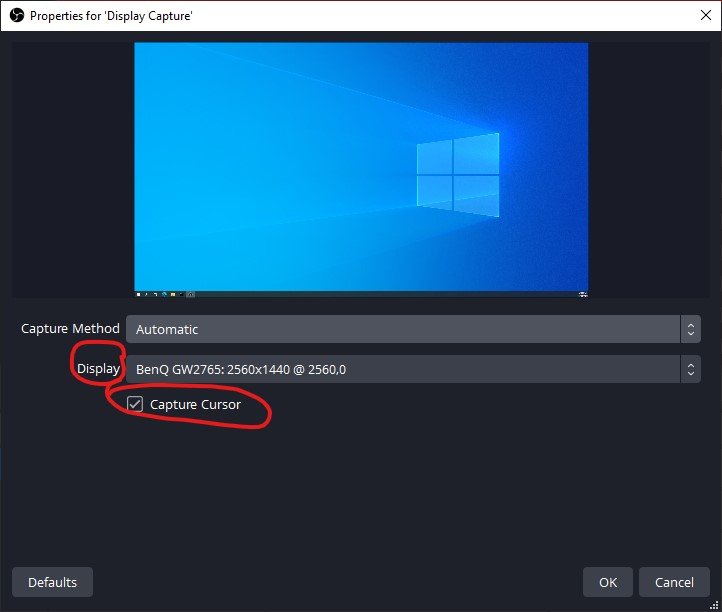
- Additional source options will appear in a new window – for example ‘Display Capture’ allows you select the ‘Display’ and whether to ‘Capture Cursor’
- Use the red margins to adjust the position and size of the sources within the scene as needed.

4. Start Recording
Note: Advanced users can manually configure setting such as resolution and frame rate.
With your scene and sources set up, you’re ready to start recording.
- Click “Start Recording” in the OBS control panel.
- To pause the recording, click “Pause Recording,” and click it again to resume.
- Once you’ve finished, click “Stop Recording.”
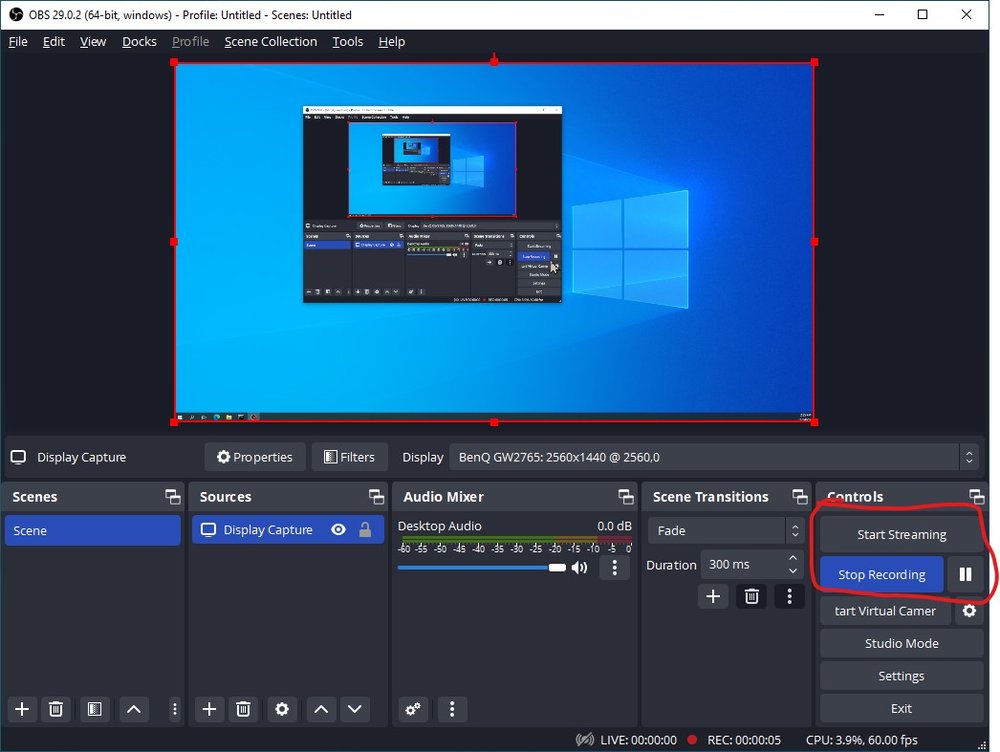
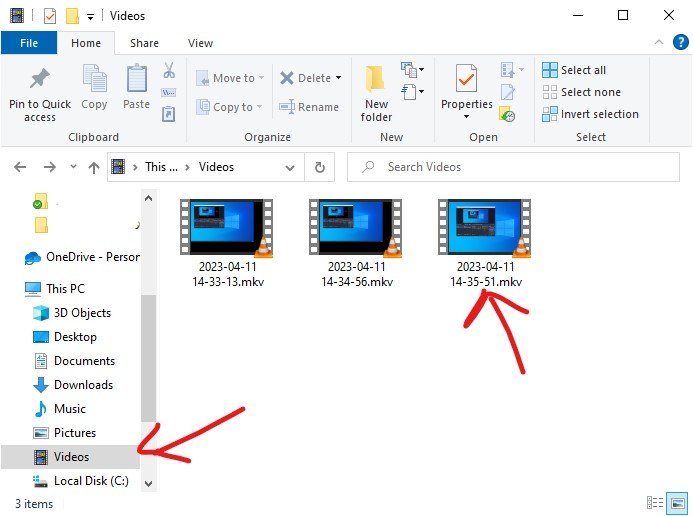
- Find your saved recordings are automatically saved to your “Videos” folder in Windows Explorer.
5. Converting Your Recording to MP4 (optional)
By default, OBS saves recordings in MKV format, which may not be compatible with some video editing software or online platforms like YouTube.
To save your recording as MP4, follow these steps:
- Click “File” > “Remux Recordings.”
- Select your MKV recording file and click “Open.”
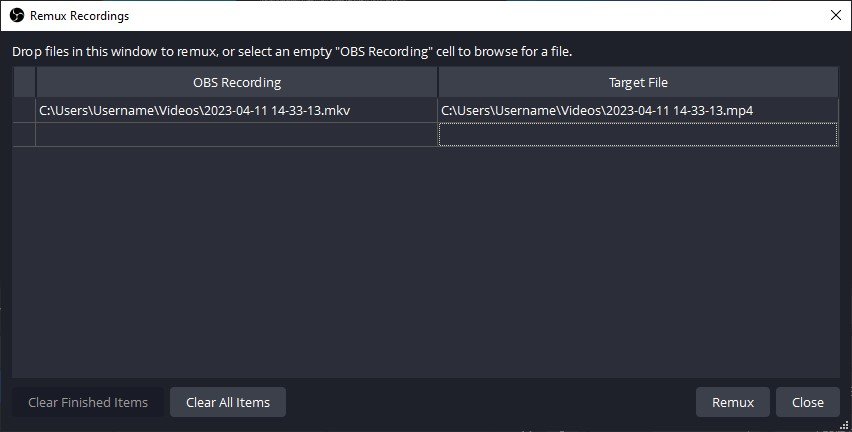
- OBS will display the destination path for the MP4 file.
- Click “Remux” to start the conversion.
- The converted MP4 file will be saved in the same location as the original FLV file.