If you’ve recently upgraded the hard drive in your PS4 and want to use it on your computer – you’ll find that the drive doesn’t appear in Windows Explorer.
This is because the PS4 uses a format not recognised by Windows.
To make it work in Windows you’ll need to remove the existing partitions and create a new partition that is recognised by Windows.
These steps will show how using Windows 10, but will be similar for Windows 7 and 8. This process DOES NOT require you to install third-party software, a potential source of malware.
- Connect the PS4 hard drive to the computer (e.g. using a USB caddy or internal SATA cable)
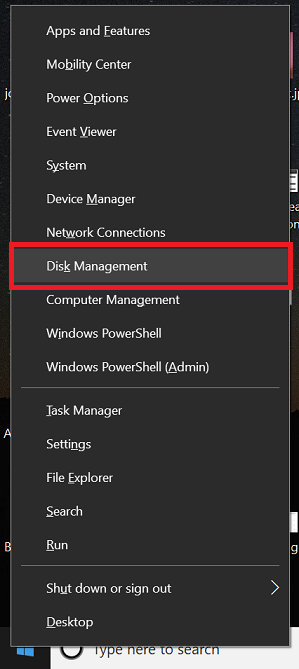
- Right-click on the Windows start button and choose ‘Disk Management’
- All the drives connected to the computer will be listed in the lower half of the Disk Management window.
- It’s critically important that you select the right disk – if you do this to another disk you will loose data.
- You can use the size to tell if you have the right drive, as well as it having many partitions (15+)
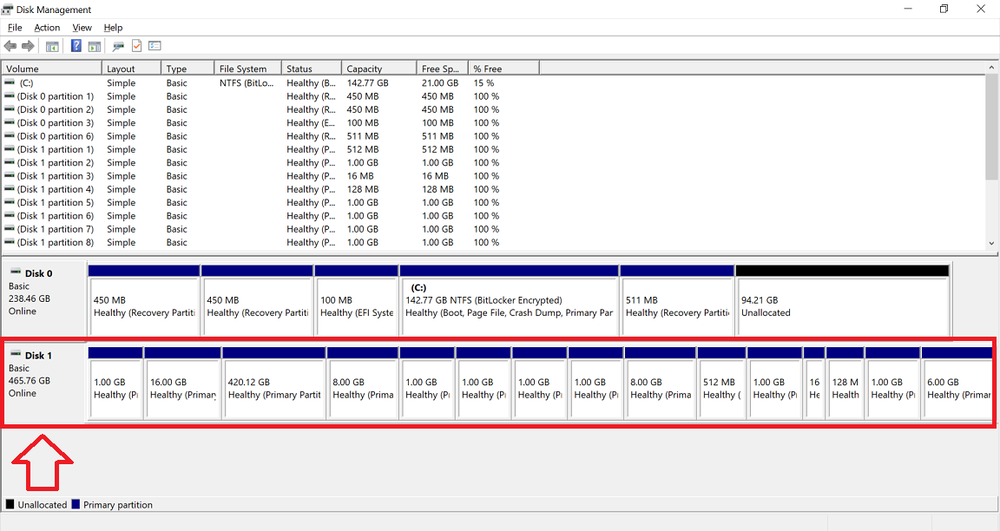
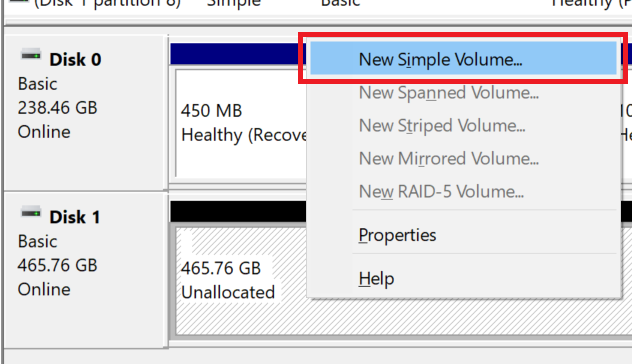
- The first thing to do is to delete all the existing partitions – this is done by right-clicking on each of the blocks and choosing ‘Delete Volume’

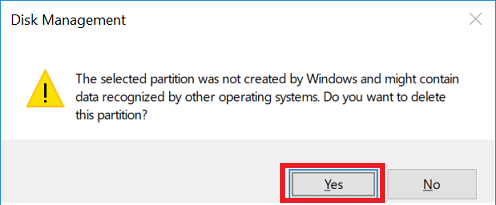
- When prompted, click ‘Yes’ to confirm
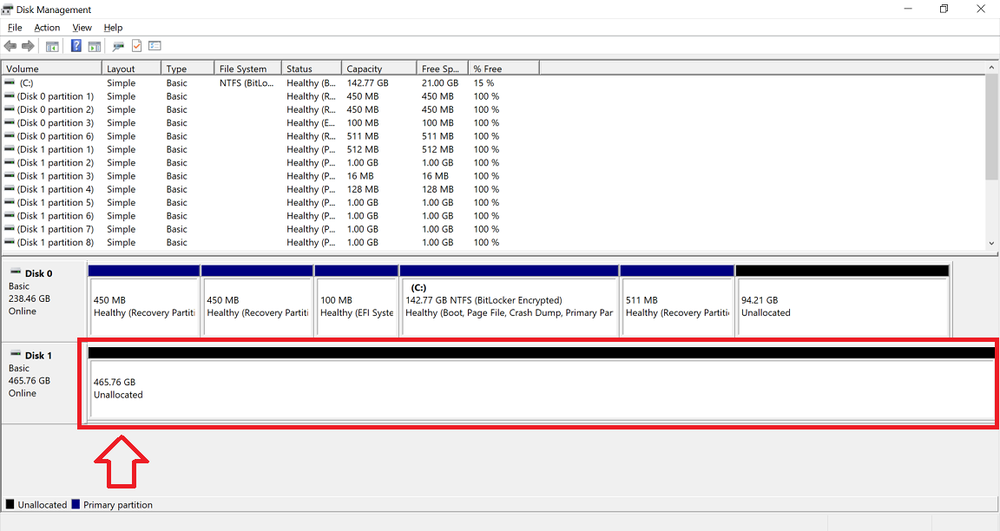
- Repeat the process for all partitions until you see one large ‘Unallocated’ block
- Now right-click on the unallocated block and choose ‘New Simple Volume’
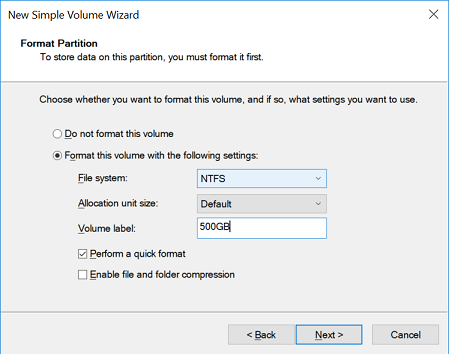
- The New Simple Volume Wizard will open. Keep clicking next to progress through, you can also choose a name for the drive under the ‘Volume label’.
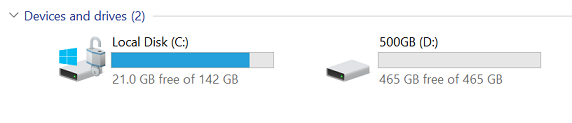
- When the wizard is finished you will now have a new drive available in Windows Explorer for the old PS4 hard drive.
- You can now close the Disk Management window.
Wanting to use it as a portable USB drive? Check out how to convert the drive to FAT32 for PS4 compatibility here: Format USB drives beyond FAT32 32GB limit – for PS4 and MAC OS