For computers with a light sensor, typically laptop computers, Windows 10 has the ability to automatically adjust the screen brightness depending on the ambient light levels.
On this pageJump to a section
This feature can be more annoying than helpful – either leaving your screen too dark or frequently adjusting the brightness levels.
Here’s three ways to disable the automatic screen brightness feature.
Method 1: using the systems setting
- Open the Windows start menu and click on ‘Settings’ (a cog icon)
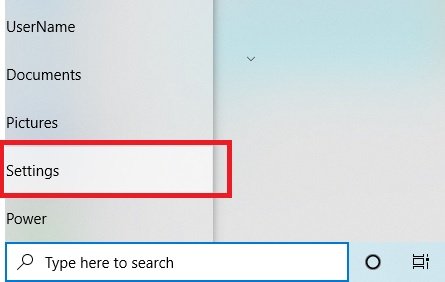
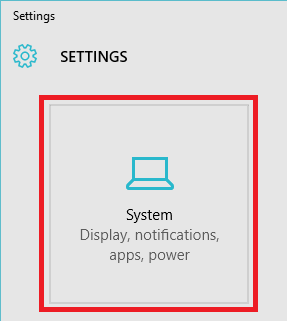
- In the settings window, click on ‘System’
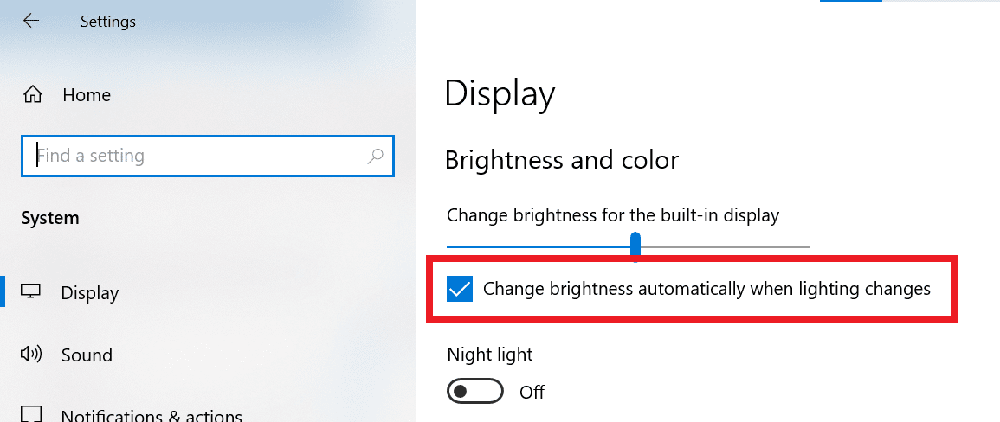
- The ‘Display’ menu should be selected on the left, if it is not – click on ‘Display’
- Untick ‘Change brightness automatically when lighting changes’
Help – I don’t have the ‘Change brightness automatically when lighting changes’ option
If you don’t have the ‘Change brightness automatically when lighting changes’ option it’s likely your computer does not have a light sensor and therefore does not have the automatic brightness feature.
If you’re sure your computer does have a light sensor – try checking the manufactures website for the correct driver and/or software package. It is possible that Windows 10 support is not provided.
In this case you will need to use the manual brightness adjustments. On laptops, these are usually done using buttons on or new the keyboard – sometimes in combination with a Fn (function) key. For desktop computers, the monitor will have buttons and a menu on the front or the side of the monitor.
Help – ‘Change brightness automatically when lighting changes’ won’t change
If your laptop is connected to two screens – in extended mode – the ‘Change brightness automatically when lighting changes’ option won’t change.
This appears to be a bug with Windows 10.
Method two: change the power plan advanced options
- Open the Windows start menu and click on ‘Settings’
- In the settings window, click on ‘System’
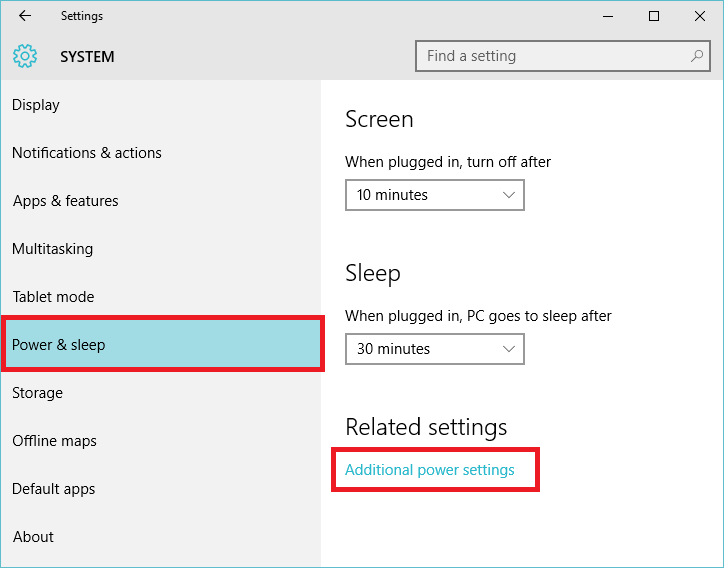
- Click on ‘Power & sleep’ in the left hand menu, then click on the ‘Additional power settings’ link
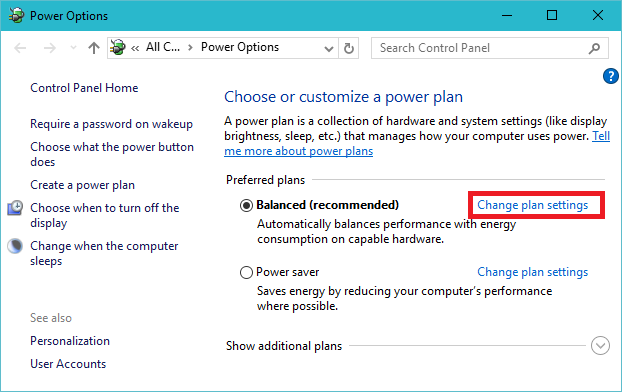
- For the power plan you currently have enabled (balanced by default – the enabled plan will be bold), click on ‘Change plan settings’.
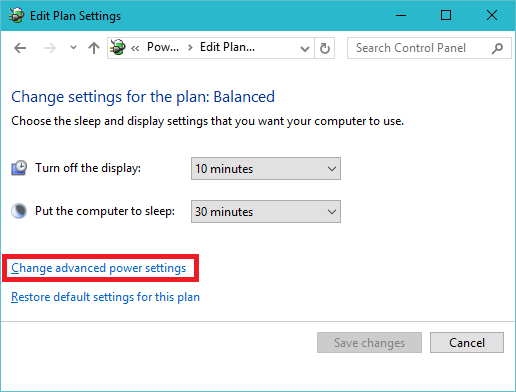
- Click on ‘Change advanced power settings’
- Expand ‘Display’ -> ‘Enable adaptive brightness’ and make sure the setting is set to ‘Off’
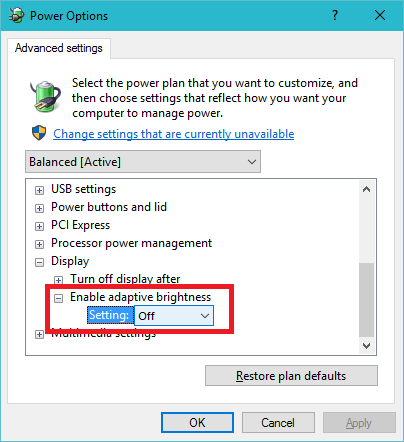
- Click ‘OK’ to save the changes.
Method 3 – Install the latest drivers from the laptop manufacture
If none of the other options worked – either your laptop does not have the light adaptive sensors, or the correct drivers are not installed.
In this case, you can try
- installing the latest driver / software updates from the laptop manufacture’s website
- opening the computer Device Manager and changing the driver for the video card to the Microsoft basic driver.
does anyone find something else? I am still having the same issue
none of these options exist anymore
there is not f*cking enable adaptive brightness option
Hi,
I’m afraid I see none of these options. I did some research and found something with disabling sensor monitoring service, but the screen just won’t stop brightening up, which is annoying. Can somebody help, please? Thank you.