Windows 10 doesn’t come with a scanner app (well it did come with “Scan” for a short time) instead you need to head to Windows Store and install ‘Windows Scan’.
The steps below will show how to install ‘Windows Scan’ and use it to scan a document.
We’ll assume that a scanner is connected to the computer, turned on and drivers installed (most drivers will automatically install).
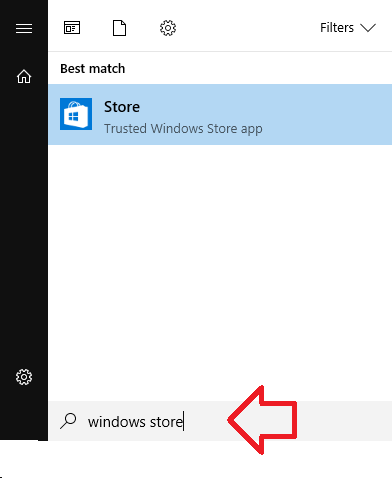
- Click on the Windows start button and type ‘Windows Store’ – click on it when it appears in the list above.
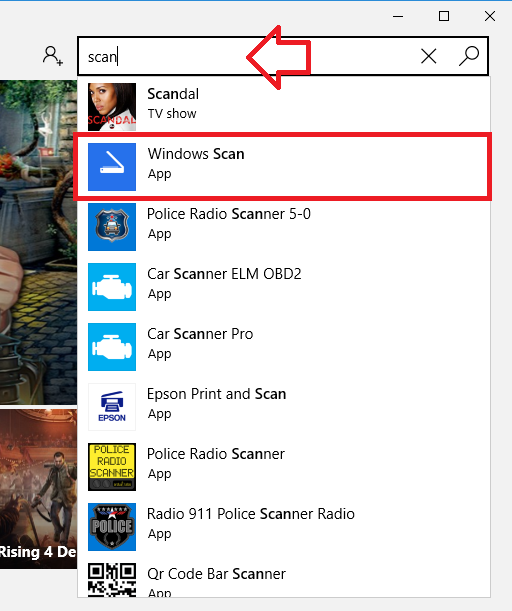
- In the search box at the top right of the window, search for “scan”
- Click on ‘Windows Scan’ when it appears
- Click on the ‘Get’ button
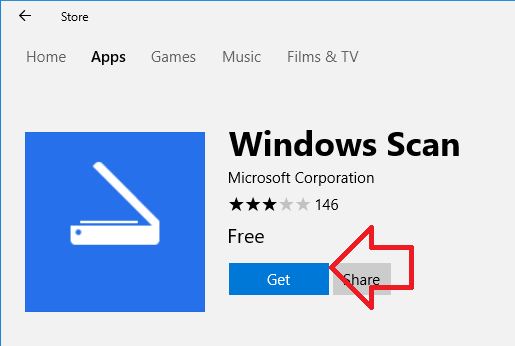
- The Windows Scan app will now install – it usually takes under a minute to download and install
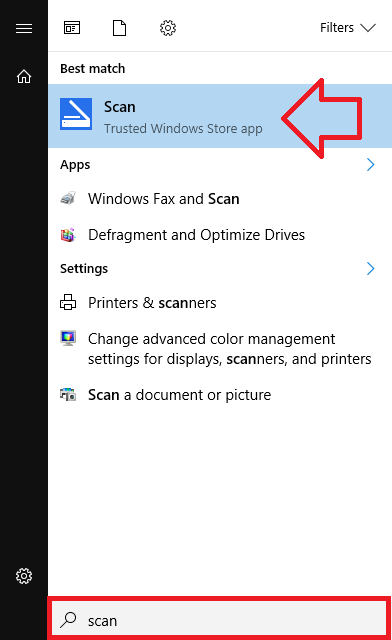
- When it’s ready you can click on the ‘Launch’ button or search for it from the Windows start menu
- The scan app is basic but effective – it allows you to control basic settings like selecting the scan area and image file type
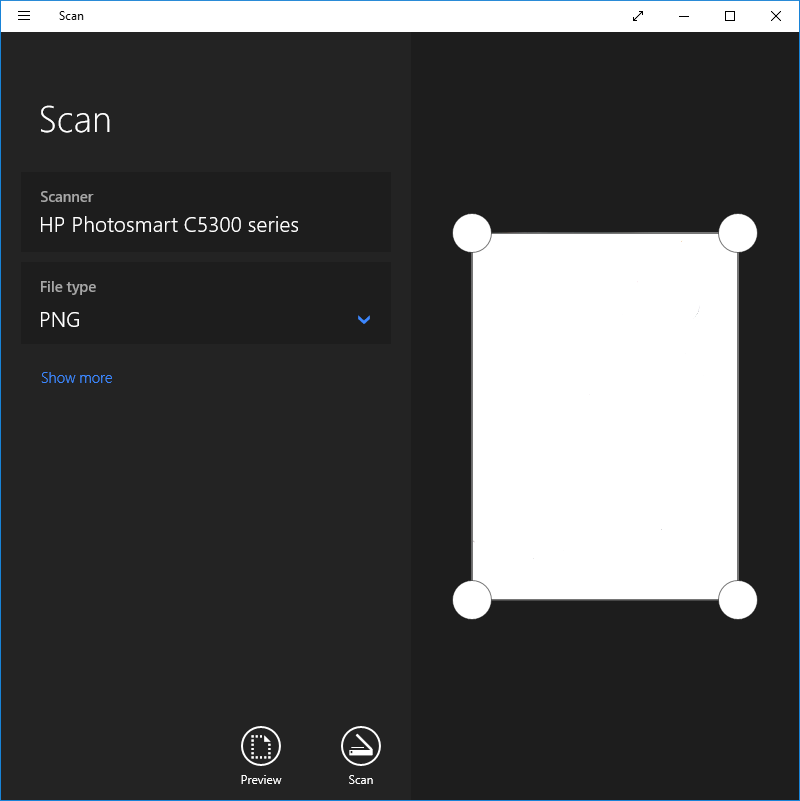
Note: if your scanner is not listed in the app – check that the scanner is turned on, connected to the computer and that the drivers are installed.
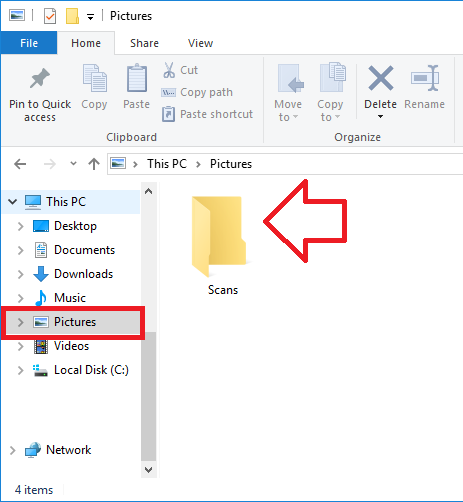
Where does it save scans to? By default it saves scanned images to your “Pictures” folder – in a folder called “scans”.
How can I scan multipage documents, I don’t really want 10 saved pdf documents for one actual document, it’s so frustrating