The steps below detail how to convert an audio disc to MP3 files using Windows Media Player.
Fun fact – the CDA files you see in an audio disc are nothing more than shortcuts to the tracks on an audio disc.
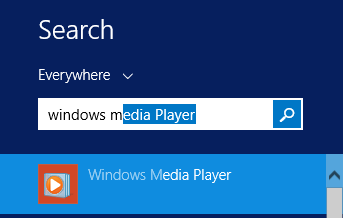
- Open Windows Media Player (Open the Windows menu, type ‘Windows Media player’ and click on the icon)
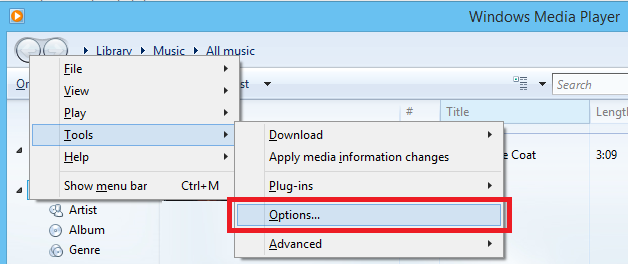
- Press ‘Alt’ on the keyboard and open the ‘Tools’ menu then ‘Options’
- Open the ‘Rip music’ tab
- Take note of the ‘Rip music to this location’ location – this is where your converted audio discs will be saved
- Change the ‘Format’ setting to ‘MP3’
- Optional: change the ‘Audio quality’ to a higher setting, for example320 kbps.

- Click ‘OK’ to save the settings.
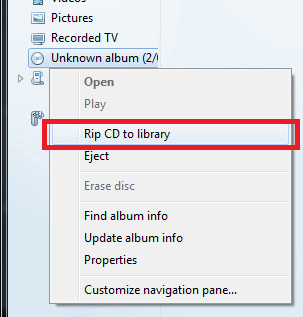
- In the left hand menu, you will see a CD icon that represents the audio disc that is in your CD drive – right click and click on ‘Rip CD to library’
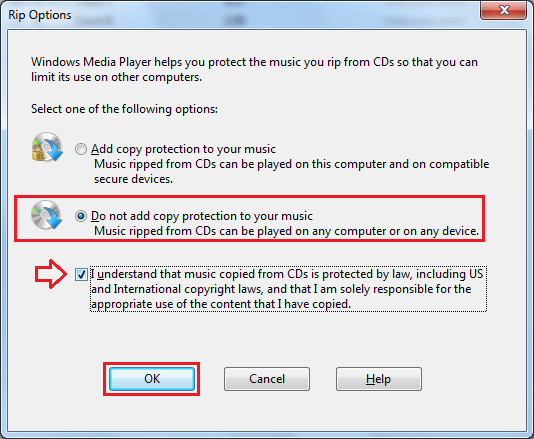
- Select ‘Do not add copy right protection to your music’ and ‘I understand …’
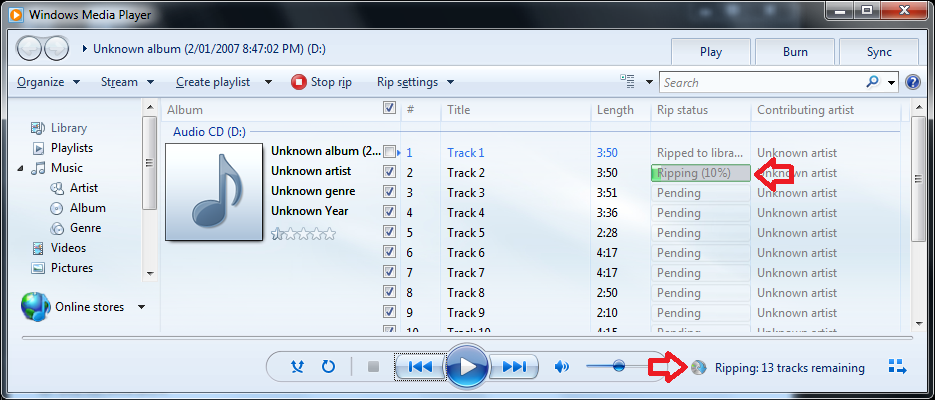
- Click ‘OK’ to start the process
- The CD will begin being ripped to your library, it will take 10 – 20 minutes to complete.
- When done will find the folder of MP3 files in the location noted in step 6.
If your CD displays .CDA shortcut files only, this article lets you rip out the actual music files. Thanks!
Worked!
Thank you!!!
You can download a third-party MP4 to Windows Media Player converter – Avdshare Video Converter to convert MP4 to all versions of Windows Media Player more supported WMV, AVI, MPG or ASF.
Thanks for the info.
I spent time looking for ways to convert cda to mp3, many software I have installed, all have to pay, free of charge contain virus. This is the most cheapest and useful way.