This article will go through the process of adding a new storage datastore to a VMWare ESXi 5 host using VMware vSphere.
Please note: In this example the VMWare ESXi 5 operating system is being ran in a virtual environment using VMware Workstation.
- Install the storage device as per manufacture instructions
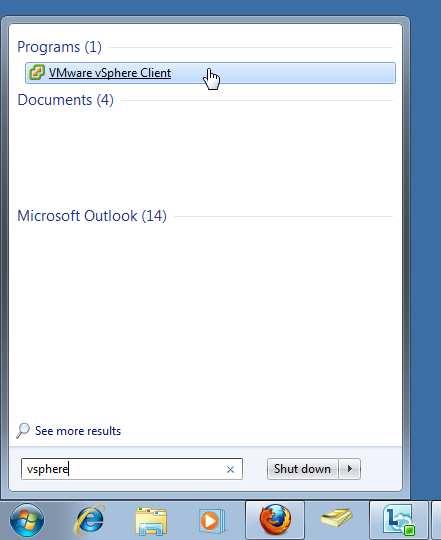
- Open the VMware vSphere Client

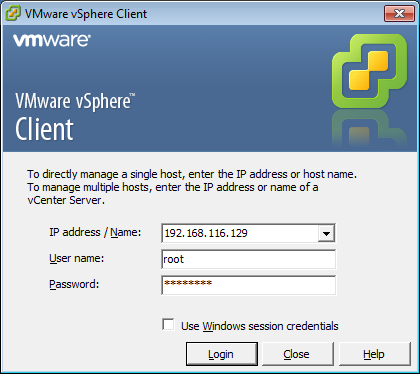
- Enter in the IP address (or host name) for the ESXi host, the User name and Password then click ‘Login’

- If you receive a certificate error message, click ‘Ignore’
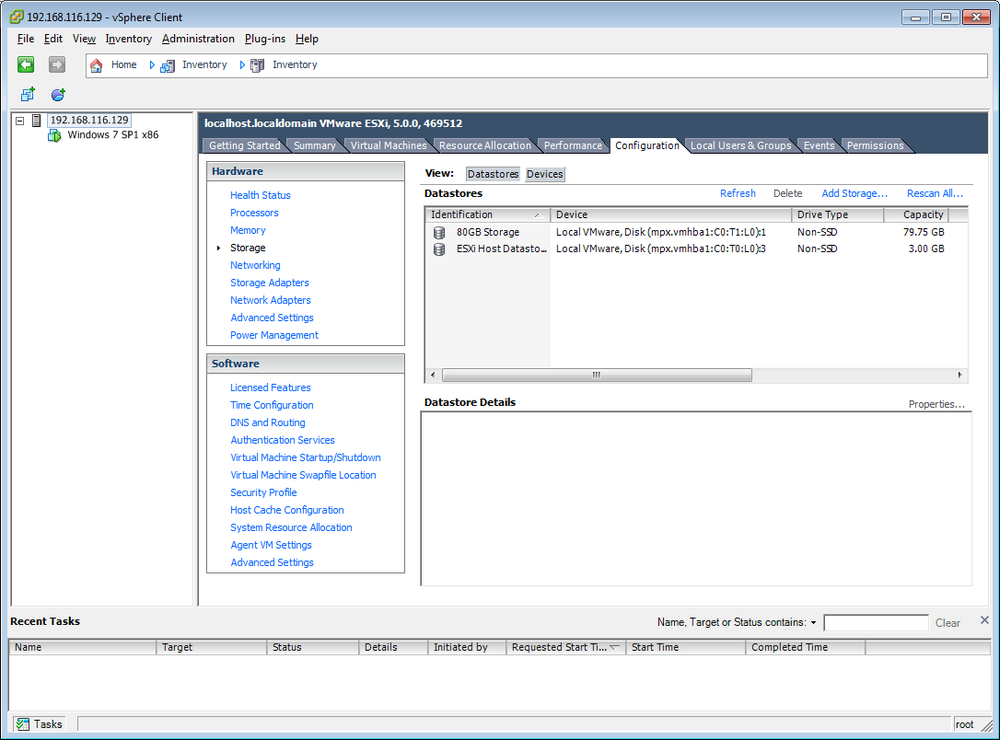
- Select the ‘Configuration’ tab
- Under ‘Hardware’ select ‘Storage’

- Under ‘Datastores’ select ‘Add Storage’
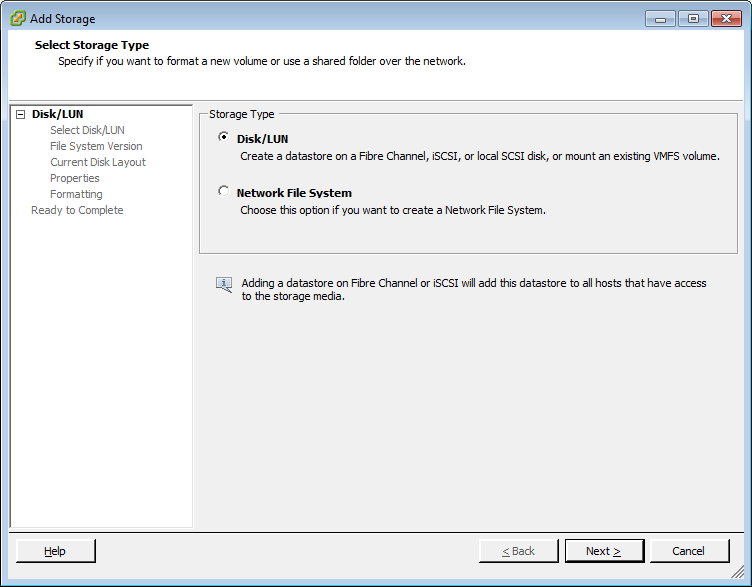
- The ‘Add storage’ wizard will load. Select your required storage type then click ‘Next’

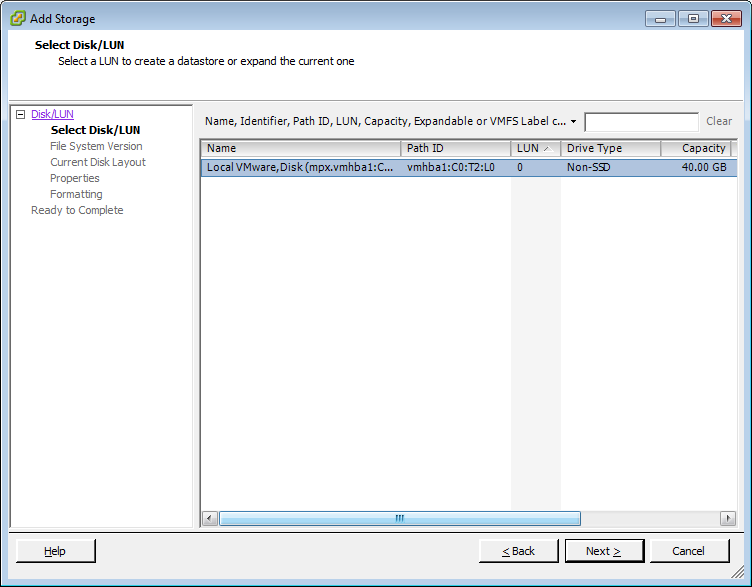
- Any unallocated storage devices will appear in the list. Select the required storage device then click ‘Next’
- Select the file system version (if you do not have any ESX hosts older than 5.0 select VMFS-5) then click ‘Next’
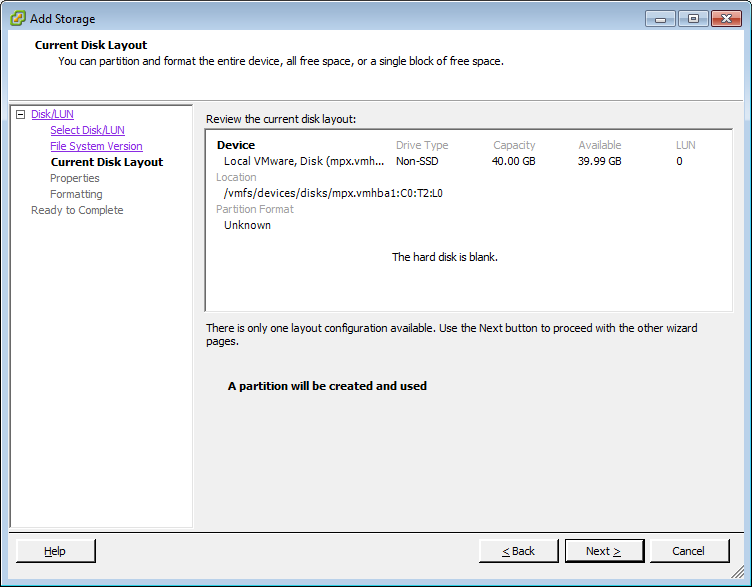
- Configure the disk layout as desired then Click ‘Next’
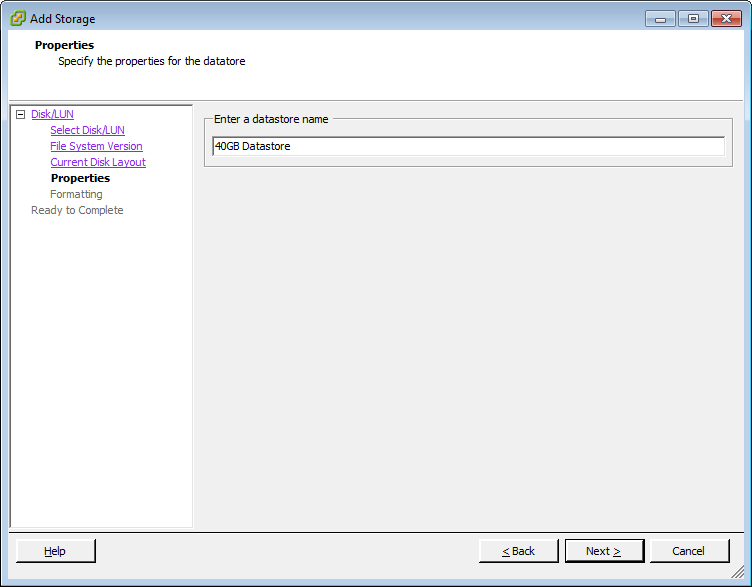
- Enter a name to identify the datastore then click ‘Next’
- Specify the storage capacity then click Click ‘Next’
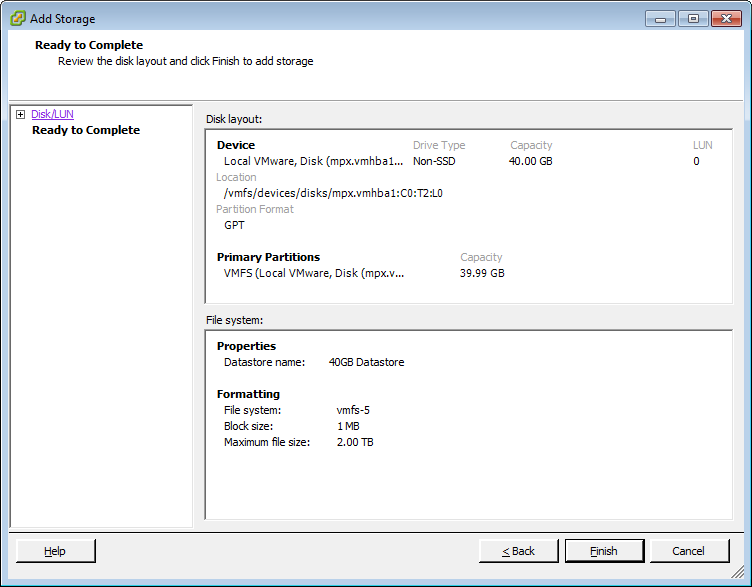
- Click ‘Finish’ to complete the process
- The new storage datastore will be available to use with new or existing virtual machines.