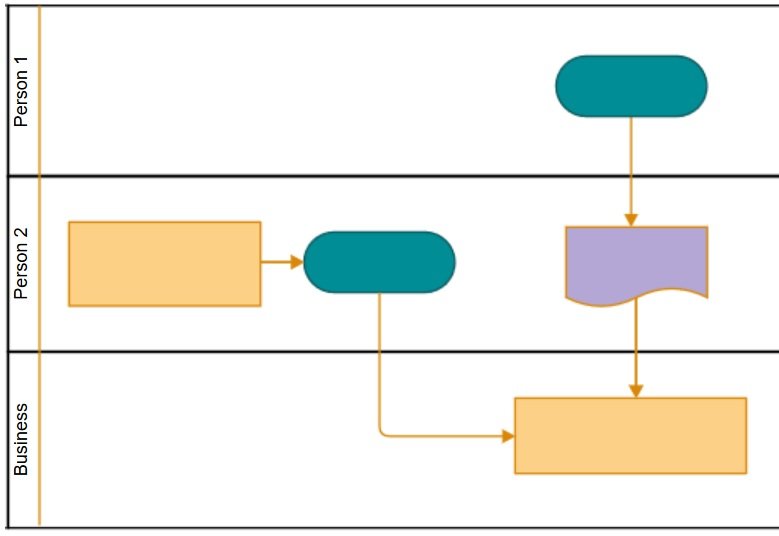
But making a process map that works can be difficult.
Below I’m going to share some tips for how I create process maps.
1. Define the beginning and end of the process map before you start
Before starting the process map you need to understand what the start and end of the process are.
This sets the scope of the process – but be prepared it it to change as you work through creating the process map.
You want to consider:
- what and who starts the process
- what and who ends the process
- what is the outcome of the process – for example, a product or service
2. Process map at a high level
Process maps are useful tools – but they are not good at getting into fine details.
If you try to get too far into the fine detail the process map can get over-complicated and looses it’s ability to easy communicate the process.
Instead you want to keep the process map at a high level.
Think about the critical tasks or outcomes for the process – and if necessary document details in a separate written guide.
You want to consider:
- what are the critical tasks or outcomes for the process
- what details need to be a process map and what details need to be in a written guide
3. Think about the process across the whole organisation
Don’t restrict your process map to the steps in your own area – think about all the different areas involved in the process – even if you simplify steps that are external to your control.
Sometimes “external” steps need to happen before you can progress – which can add uncertain delays to the process. When this happens, try to set a time frame for when these steps are expected to be completed.
You want to consider:
- who are the people or groups involved in the process
- do “external” steps run at the same time as “internal” steps
- what are the time frames for “external” steps
4. Map the process as they happens – not as you think they happens
Once you have a good idea of where the process starts, the steps and people involved you can start to work through the process.
When mapping out the process it’s important that you step through the actual process as it happens.
If this is a process that’s currently being used you can work alongside the people involved to map the process.
If this isn’t an option you could instead work with key stakeholders to map the process.
You want to consider:
- who are the people or groups involved
- where does the process start and end
- what are the steps to get from the start to the end
5. Talk to other people who are involved in the process
An effective process map considers all stakeholders – not just the people involved in the process.
You want to consider:
- are there other people or groups that have a stake in the process but are not directly involved – for example, the customer, the bank, a organisation’s records team
- what do these people need and when. Does the process do what they need? Does the process map show these outputs?
6. Ask questions
Finally, now you have the process mapped out – question every part of it.
Doing this can help refine the process map and may even provide some insight or improvements for the process itself.
- Is there anything missing?
- Do any steps not make sense? For example, steps that do not need to happen or could happen at a different time.
- Where are the bottlenecks? Often bottle necks occur when too many people are involved.
- Do any steps require additional documentation? For example a written guide.